Planning a room makeover without a sketch is like building a deck without a blueprint, possible, but messy. Interior design sketches bridge the gap between daydreaming about a space and actually executing it. They help homeowners visualize furniture placement, test color palettes, and catch proportion problems before moving a single sofa. Whether someone’s redoing a kitchen or just rearranging a bedroom, a quick sketch saves time, money, and the frustration of discovering that new sectional won’t fit through the doorway. This guide walks through the tools, techniques, and trade-offs involved in sketching interior spaces with confidence.
Key Takeaways
- An interior design sketch bridges daydreaming and execution by revealing furniture placement, color compatibility, and proportion issues before costly purchases or renovations.
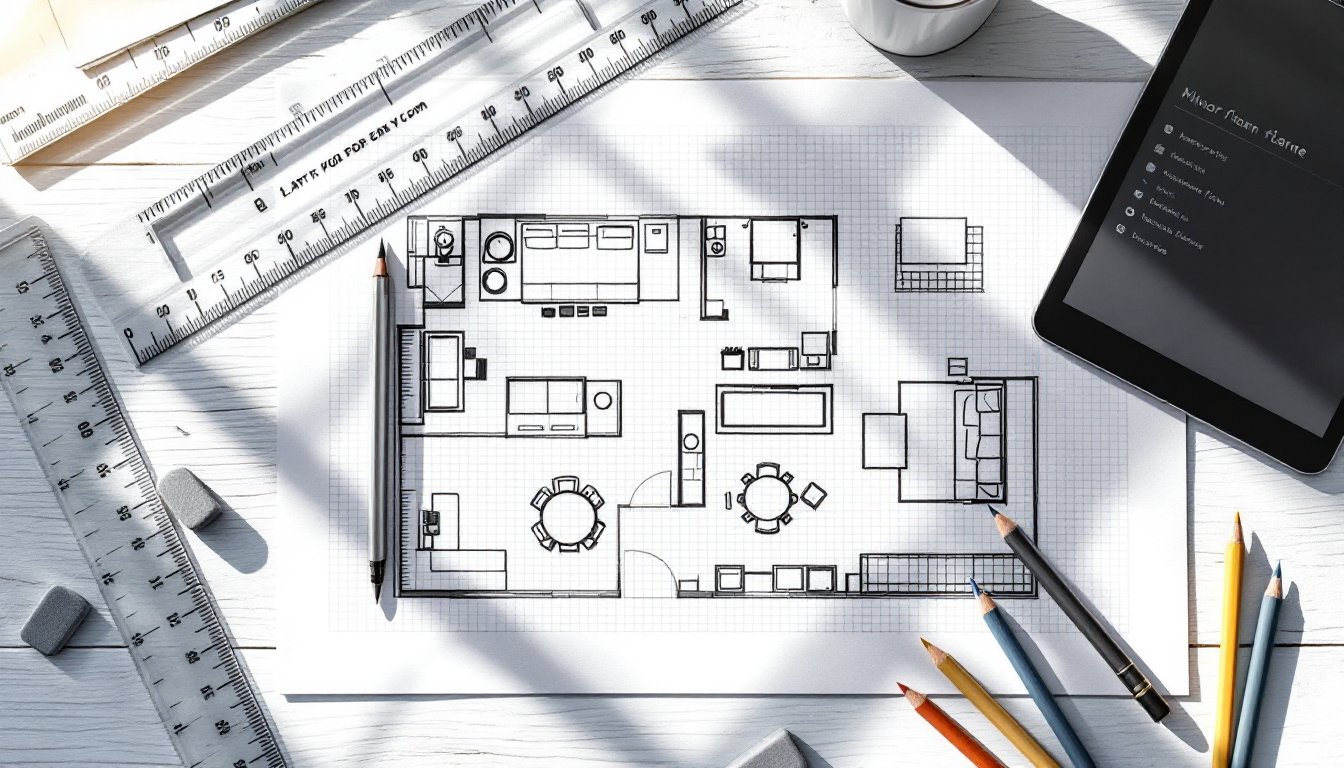
- Starting with hand-drawn sketches on graph paper using a scale ruler helps homeowners visualize spaces accurately without the learning curve of digital software.
- Sketches prevent expensive mistakes by catching spatial conflicts early—such as doorway clearances or furniture fit—saving time, money, and renovation frustration.
- Whether hand-drawn or digital, the key to an effective interior design sketch is measuring accurately, drawing to scale, and documenting architectural features like windows, doors, and fixed structures.
- Digital sketching tools offer infinite undo and easy sharing with contractors or designers, while hand-sketches excel at quick brainstorming and on-site planning during room walkthroughs.
- A hybrid approach—sketching initial layouts on paper, then refining in digital software—combines tactile spatial learning with the precision and shareability needed for client presentations or contractor bids.
What Is an Interior Design Sketch and Why Does It Matter?
An interior design sketch is a visual representation of a room or space, drawn to show layout, furniture placement, architectural features, and sometimes color or material choices. It ranges from rough freehand doodles on graph paper to detailed elevations with proper scale and perspective.
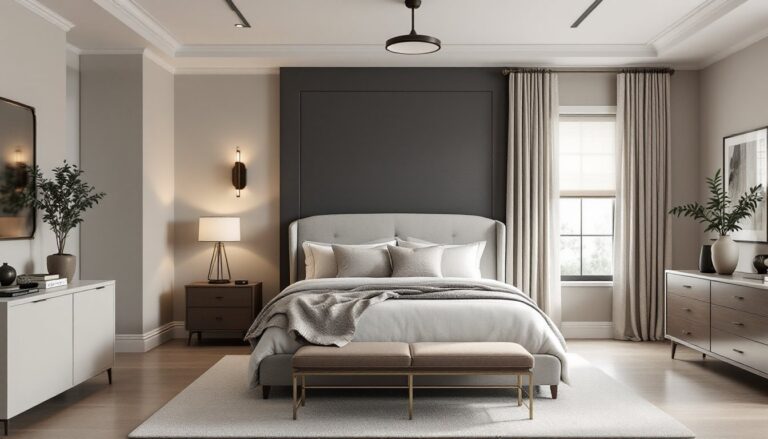
Sketches matter because they force decision-making early. They reveal whether a king-size bed leaves enough clearance for nightstands, whether windows get blocked by a proposed bookshelf, or whether that paint color works with existing trim. Mistakes on paper cost nothing. Mistakes after delivery day cost plenty.
For DIYers tackling renovations, sketches also help communicate with contractors, electricians, or permitting offices. A clear floor plan showing where outlets need to go or how a load-bearing wall removal affects adjacent rooms can prevent costly misunderstandings. Even cosmetic projects benefit, sketching a gallery wall layout on paper before hammering nails into drywall saves patch-and-paint headaches.
Professional designers use sketches as a client communication tool, but homeowners can use the same methods to think through their own spaces. The goal isn’t art, it’s clarity.
Essential Tools and Materials for Interior Design Sketching
Hand-drawn sketches require surprisingly little investment. Here’s what belongs in a basic sketching kit:
For Hand Sketching:
- Graph paper (¼-inch grid is standard). The grid provides built-in scale and keeps walls straight without a straightedge.
- Mechanical pencil (0.5mm or 0.7mm lead) for clean, consistent lines. Regular #2 pencils work but require frequent sharpening.
- Eraser (kneaded or vinyl). Kneaded erasers lift graphite without tearing paper: vinyl erasers handle heavier corrections.
- Architect’s scale ruler for translating real-world measurements into scaled drawings. Common scales include ¼” = 1′ (quarter-inch equals one foot) for floor plans.
- Straightedge or T-square for long walls and alignment. A 12-inch metal ruler suffices for small rooms.
- Colored pencils or markers for indicating materials, finishes, or zones (e.g., blue for water sources, yellow for lighting).
For Digital Sketching:
- Tablet with stylus (iPad with Apple Pencil, Samsung Galaxy Tab, or similar). Pressure sensitivity improves line control.
- Sketching apps: Concepts, Procreate, or SketchBook for freehand work: SketchUp Free, Floorplanner, or RoomSketcher for structured floor plans.
- Optional: Bluetooth keyboard for quick dimension entry in CAD-style apps.
Many homeowners benefit from starting on paper to learn proportion and spatial thinking before jumping to software. Digital tools excel at revisions and sharing but have a learning curve. Paper forgives hesitation and encourages experimentation without undo buttons.
Safety note: If measuring spaces, wear safety glasses when working near overhead fixtures or in unfinished areas, and use a headlamp in poorly lit rooms to avoid tripping hazards.
Step-by-Step Guide to Creating Your First Interior Design Sketch
Breaking the process into stages prevents overwhelm and builds accuracy.
Measuring Your Space and Planning the Layout
- Clear the room as much as possible. Move furniture away from walls to access baseboards and corners.
- Measure wall lengths with a 25-foot tape measure. Record each wall to the nearest ¼ inch. For rooms wider than the tape, mark the midpoint and measure in sections.
- Note ceiling height by measuring from floor to ceiling at multiple points. Older homes often have variation.
- Document openings: Measure door widths (including trim), window locations (height from floor, width, and distance from corners), and any built-ins like radiators or closets.
- Mark electrical and plumbing: Note outlet locations, switch positions, and any HVAC vents. These constrain furniture placement and renovation options.
- Photograph everything. Photos capture details sketches might miss, crown molding profiles, floor transitions, or quirky angles.
Choose a scale before drawing. For whole-room plans, ¼” = 1′ works well (a 12-foot wall becomes 3 inches on paper). For detail work, like a kitchen elevation showing cabinet heights, ½” = 1′ provides more room for annotation.
Pro tip: Use graph paper where each square represents a set measurement (e.g., one square = 6 inches at ¼” scale). This eliminates constant ruler use and speeds up sketching.
Drawing Walls, Windows, and Architectural Features
- Start with the perimeter. Using your scale ruler and measurements, draw the room’s outer walls as a simple rectangle or polygon. Double-check dimensions before proceeding.
- Add interior walls if sketching multiple rooms or showing a partition. Wall thickness matters, standard interior walls are about 4½ inches (a 2×4 stud plus two layers of ½-inch drywall). Exterior walls run 6 inches or more due to insulation and sheathing.
- Draw door swings. Show which way doors open with an arc indicating the swing path. This reveals clearance conflicts early. Standard interior doors are 30 to 36 inches wide: exterior doors are typically 36 inches.
- Mark windows. Draw them as gaps in the wall with a double line indicating the sill. Note if they’re casement, double-hung, or sliding, this affects how furniture can sit beneath them.
- Indicate fixed features: Stairs, fireplaces, built-in shelving, or columns. These are immovable and anchor the design.
- Add furniture outlines. Use manufacturer dimensions or measure existing pieces. A queen bed is 60 x 80 inches: a standard sofa runs 84 to 96 inches long. Draw furniture to scale as simple rectangles or circles. Leave 24 to 36 inches of clearance for walkways.
For spaces requiring specific rustic interior design elements, sketching helps visualize how reclaimed wood beams or stone accent walls integrate with modern lighting and furniture layouts.
Common mistake: Forgetting to account for baseboards and trim. A wall might measure 12 feet, but usable floor space is less once you account for ¾-inch baseboards on both ends.
If sketching elevations (straight-on wall views), include window and door heights, outlet locations, and any wall-mounted features like TVs or sconces. Elevations are critical for planning kitchen backsplashes, gallery walls, or built-in cabinetry.
Permit note: If sketches involve structural changes, removing walls, adding windows, or altering load-bearing elements, check local codes. Most jurisdictions require engineer-stamped drawings for permit approval, but a homeowner sketch clarifies intent during initial contractor consultations.
Digital vs. Hand-Drawn Sketches: Which Method Is Right for You?
Both approaches have distinct advantages. The right choice depends on the project scope, skill level, and how the sketch will be used.
Hand-Drawn Sketches:
Pros:
- No learning curve. Pencil and paper are intuitive.
- Faster for quick concepts or brainstorming multiple layouts.
- Easier to sketch on-site during walks with contractors or in the room itself.
- No software crashes, file compatibility issues, or subscription fees.
Cons:
- Revisions require erasing or redrawing entirely.
- Harder to share remotely (requires scanning or photographing).
- Achieving perfectly straight lines and accurate scale takes practice.
- Limited ability to visualize 3D perspective without advanced drawing skills.
Digital Sketches:
Pros:
- Infinite undo. Experiment freely without commitment.
- Layers allow toggling furniture arrangements or design options.
- Easy sharing via email or cloud links with contractors, designers, or family.
- Many apps auto-generate 3D views from 2D floor plans, helping visualize height and depth.
- Libraries of furniture templates save time (most apps include beds, sofas, tables at standard dimensions).
Cons:
- Steeper learning curve, especially for CAD-style programs.
- Requires device investment (tablet, stylus, or computer).
- Some apps impose subscription costs or export restrictions on free tiers.
- Temptation to over-complicate simple sketches with unnecessary detail.
Hybrid approach: Many DIYers sketch initial layouts on graph paper, then transfer promising designs into software for refinement and sharing. This combines the speed of hand sketching with the precision and shareability of digital tools.
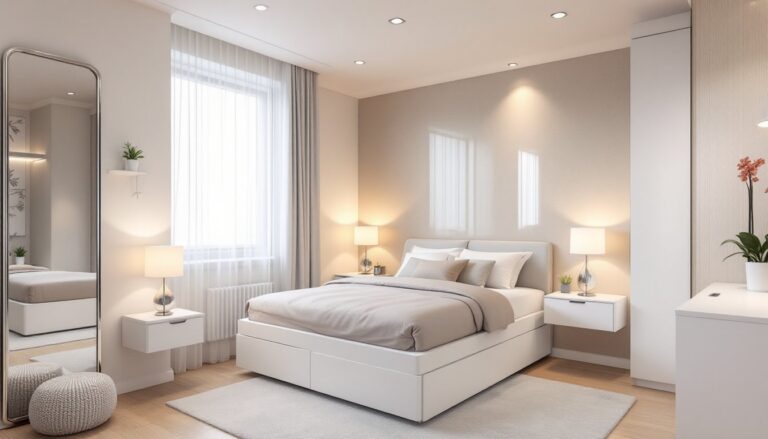
For complex projects, like kitchen remodels involving plumbing and electrical changes, digital tools with measurement features and code-checking capabilities (some apps flag minimum clearances or ADA compliance) add value. For simpler tasks like rearranging a bedroom or planning a home design layout, paper often suffices.
Designers frequently recommend testing layout ideas on paper first, then switching to digital for client presentations or contractor bids. The tactile process of hand-drawing helps internalize spatial relationships better than dragging icons on a screen.
Tool alternatives: If purchasing a tablet isn’t feasible, free browser-based tools like Floorplanner or SketchUp Free run on laptops or desktops. They lack stylus precision but handle floor plans competently using a mouse. For inspiration and examples of professional sketches, platforms like homify’s sketch projects showcase how designers translate concepts into detailed renderings.
Regardless of method, the key is consistency in scale and thoroughness in documentation. A sketch’s value comes from accuracy, not aesthetics. For additional design inspiration and room-specific tips, resources like MyDomaine offer visual examples that can inform sketching decisions around color, texture, and spatial flow.
Conclusion
Interior design sketches turn abstract ideas into actionable plans. They catch mistakes early, improve communication with contractors, and give homeowners confidence before committing to furniture purchases or renovation work. Whether using graph paper and a pencil or a tablet with software, the principles remain the same: measure accurately, draw to scale, and think through the space three-dimensionally. Start simple, practice on a single room, and refine the process over time. The best sketch is the one that prevents the wrong sectional from blocking the hallway.