
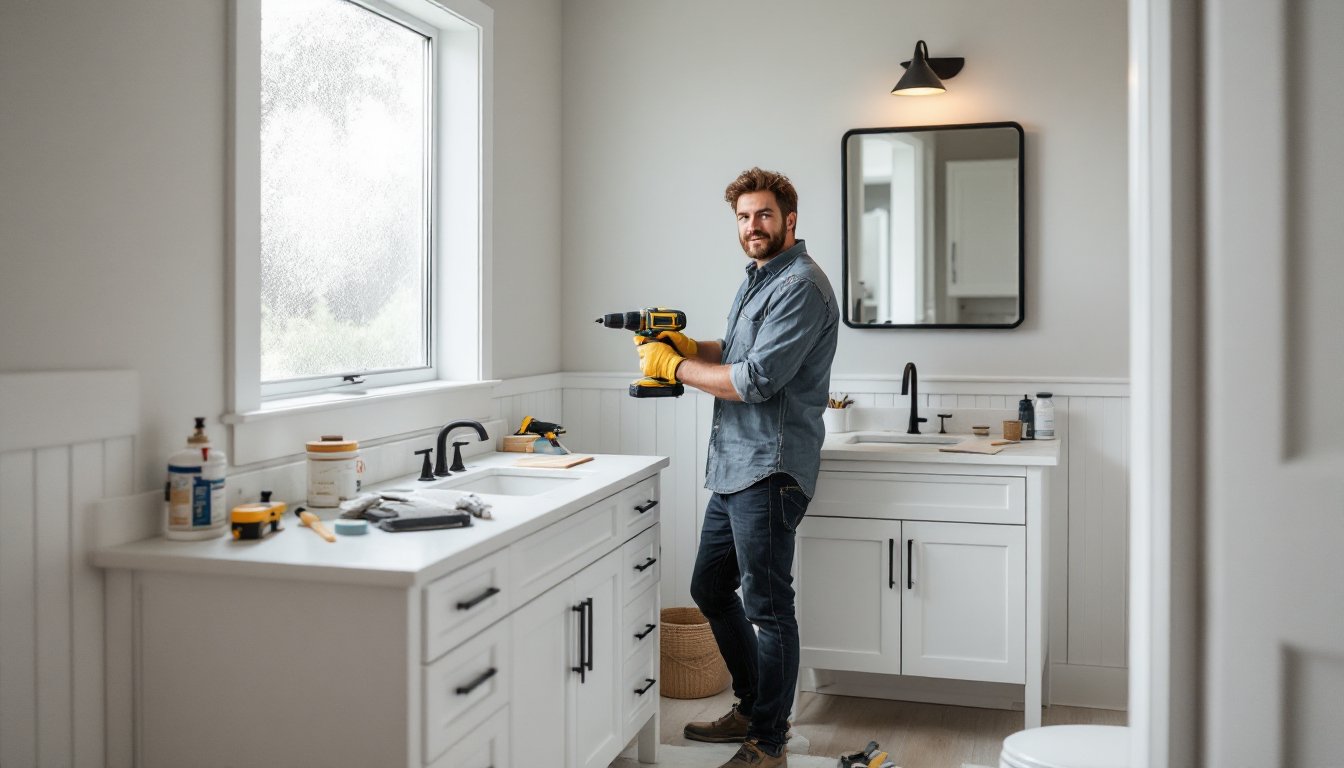
A full bathroom gut job can run $15,000 or more, but plenty of homeowners are proving that smart, targeted upgrades can transform the space for a fraction of that. Whether the goal is a refreshed look before listing the house or just escaping that builder-grade beige forever, a weekend project list goes a long way. The bathroom renovation ideas DIY-minded folks tackle most successfully tend to focus on high-impact, low-risk changes, paint, fixtures, hardware, and storage. Here are 12 upgrades worth penciling onto next Saturday’s to-do list.
Key Takeaways
- Bathroom renovation ideas DIY homeowners tackle successfully focus on high-impact, low-risk changes like paint, fixtures, hardware, and storage rather than structural work.
- Set a realistic budget with a 15% material overage and 10–20% contingency fund before starting any bathroom renovation ideas DIY project to avoid cost overruns.
- Quick cosmetic upgrades like repainting walls, replacing mirrors, upgrading toilet seats, and re-caulking take an afternoon but deliver major visual impact.
- Proper planning and sequencing—demo, plumbing, electrical, drywall, paint, flooring, fixtures, trim—prevents scope creep and ensures a successful DIY bathroom project.
- Prioritize ventilation, avoid painting over mildew or peeling caulk, and know when to call a licensed professional for electrical work, drain relocation, or structural changes.
- Storage and vanity makeovers, such as painting existing cabinets and swapping hardware, maximize daily functionality while staying within a DIY skill set and budget.
Planning Your DIY Bathroom Renovation on a Budget
Before a single tile gets pried up, the project needs a written scope and a realistic budget. Most DIYers underestimate the supply runs, plan on at least 15% overage for materials and a contingency fund of 10–20% for surprises behind the walls.
A few planning rules to set early:
- Measure twice. Sketch the floor plan with actual dimensions, not estimates.
- Know what’s off-limits. Moving drains, vents, or load-bearing walls usually requires permits and a licensed plumber or contractor. Codes vary by jurisdiction, but the IRC governs most residential bathroom work.
- Sequence the work. Demo, plumbing rough-in, electrical, drywall, paint, flooring, fixtures, trim, in that order.
A cosmetic refresh is very different from a structural diy bathroom renovation. Knowing which one is on the table prevents scope creep and blown budgets.
Quick Cosmetic Upgrades That Make a Big Impact
Not every diy bathroom remodel needs a sledgehammer. The fastest visual wins come from swaps that take an afternoon and basic tools.
- Repaint the walls with a mildew-resistant satin or semi-gloss. One gallon covers roughly 350–400 sq ft, enough for most bathrooms with a coat to spare.
- Swap the mirror. A framed mirror instantly upgrades a builder-grade plate mirror. Construction adhesive plus a few brad nails will do it.
- Replace the toilet seat. Soft-close seats run $25–$50 and take 10 minutes with a flathead screwdriver.
- Re-caulk tub and sink seams with a quality silicone (look for ASTM C920 rating). Pull the old bead first, don’t layer.
For more ideas at this scale, the curated guides over at budget bathroom projects cover dozens of weekend wins.
Refreshing Walls, Tile, and Flooring Without a Full Remodel
Replacing tile is a real project, mortar, backer board, wet saw, the works. But there are middle-ground options that look far better than the existing 1990s floral border.
- Peel-and-stick floor tile (luxury vinyl) handles bathroom moisture well when seams are sealed. Acclimate planks 48 hours before install.
- Tile paint kits with epoxy bonding primer can refresh dated tub surrounds. Surface prep is everything, degrease, sand to 220 grit, wipe with denatured alcohol.
- Beadboard or shiplap wainscoting at chair-rail height (about 36″) hides damaged drywall and adds dimension. A miter saw gives cleaner corners than a hand miter box, but either works.
For small powder rooms, browsing small space decorating ideas can spark layouts that punch above their square footage.
Smart Storage and Vanity Makeovers
Storage is where a diy bathroom reno earns its keep daily. A few targeted moves:
- Paint the existing vanity instead of replacing it. Degloss with a liquid sander, prime with a bonding primer like Zinsser B-I-N, then finish with two coats of cabinet enamel.
- Swap hardware. New pulls and knobs on a vanity cost under $30 and read as brand-new cabinetry.
- Add an over-toilet shelf or recessed niche between studs. Standard stud bays are 14.5″ wide, plenty for toiletries.
- Install a medicine cabinet flush-mount or recessed. Recessed requires cutting drywall and confirming no plumbing or wiring is in the bay first.
Natural materials add warmth too, corkboard organizers and bath mats are surprisingly practical, and the broader DIY cork projects category has some clever applications worth borrowing.
Lighting, Fixtures, and Finishing Touches
Lighting often gets ignored, then transforms a room once it’s right. Bathrooms need both ambient and task lighting, a single overhead fixture isn’t enough at the vanity.
- Replace the vanity light. Any homeowner comfortable killing a breaker and using a voltage tester can handle this. Per NEC, bathroom circuits must be GFCI protected, and lights within tub/shower zones need damp- or wet-rated fixtures.
- Upgrade the faucet. A new widespread or single-hole faucet refreshes the sink in under an hour. Shut off the angle stops, disconnect supply lines, swap, and reseal.
- Install a low-flow showerhead (1.75 GPM or less) for water savings.
- Add a robe hook, towel bar, and matching toilet paper holder in a unified finish, matte black, brushed nickel, or aged brass all hide water spots better than chrome.
Design-forward inspiration from sources like Remodelista’s sourcebook can help nail down a cohesive finish palette before buying.
Common DIY Mistakes to Avoid
Most failed bathroom projects share the same root causes. A few to dodge:
- Skipping ventilation checks. A bathroom without a working exhaust fan grows mold fast. Fans should be rated for the room’s cubic footage and vented outside, not into the attic.
- Painting over peeling caulk or mildew. It will bleed through within weeks. Remove, treat with a mildewcide, and let surfaces dry fully.
- Mixing metal finishes carelessly. Two finishes can work: four looks accidental.
- Ignoring water damage. Soft floors near the toilet or tub mean subfloor rot. That’s not a cosmetic fix.
- Cutting electrical corners. Anything beyond a like-for-like fixture swap, new circuits, added outlets, often requires a permit and an inspection.
More project-specific pitfalls show up across the home renovation archives, and broader home improvement guides at Hunker’s DIY library cover adjacent topics worth scanning before starting.
Conclusion
A successful DIY bathroom project comes down to honest scope, patient prep, and respecting the line between cosmetic work and licensed trades. Start small, finish what gets started, and the room will feel new without the contractor invoice. Anyone planning a larger overhaul can find a step-by-step roadmap in this complete bathroom remodel guide before swinging the first hammer.


