A DIY bathroom makeover doesn’t require a contractor’s budget or a six-month timeline. With solid planning, the right materials, and a realistic scope, homeowners can refresh their bathrooms for a fraction of what a professional renovation costs. Whether you’re tackling a full DIY bathroom renovation or a simpler bathroom reno focused on paint and fixtures, this guide walks through the most impactful updates you can handle yourself. From assessing your space to adding the final decor touches, these steps help you plan, prioritize, and execute a bathroom remodel that looks intentional and polished.
Key Takeaways
- A DIY bathroom makeover can cost just $500–$1,500 for cosmetic updates or $2,000–$5,000 for more involved work with new flooring and fixtures, saving thousands compared to professional renovation costs.
- Accurate measurements and early decisions about which elements to replace control costs—keeping existing plumbing locations and focusing on paint, hardware, and lighting deliver high visual impact with minimal complexity.
- Paint with bathroom-specific semi-gloss or satin finishes, coordinated hardware finishes (brushed nickel, chrome, or matte black), and task lighting beside mirrors are the most affordable, impactful updates for any DIY bathroom reno.
- Prioritize structural and electrical safety by turning off power before touching fixtures, using proper mounting hardware for water-prone environments, and calling licensed professionals for plumbing changes, new circuits, or electrical work outside your skill level.
- Final touches—coordinated towel bars, shelving, shower curtain rods, bath rugs, and small decor items—complete the polished look without expensive upgrades and tie your entire design direction together.
Assess Your Space and Set a Realistic Budget
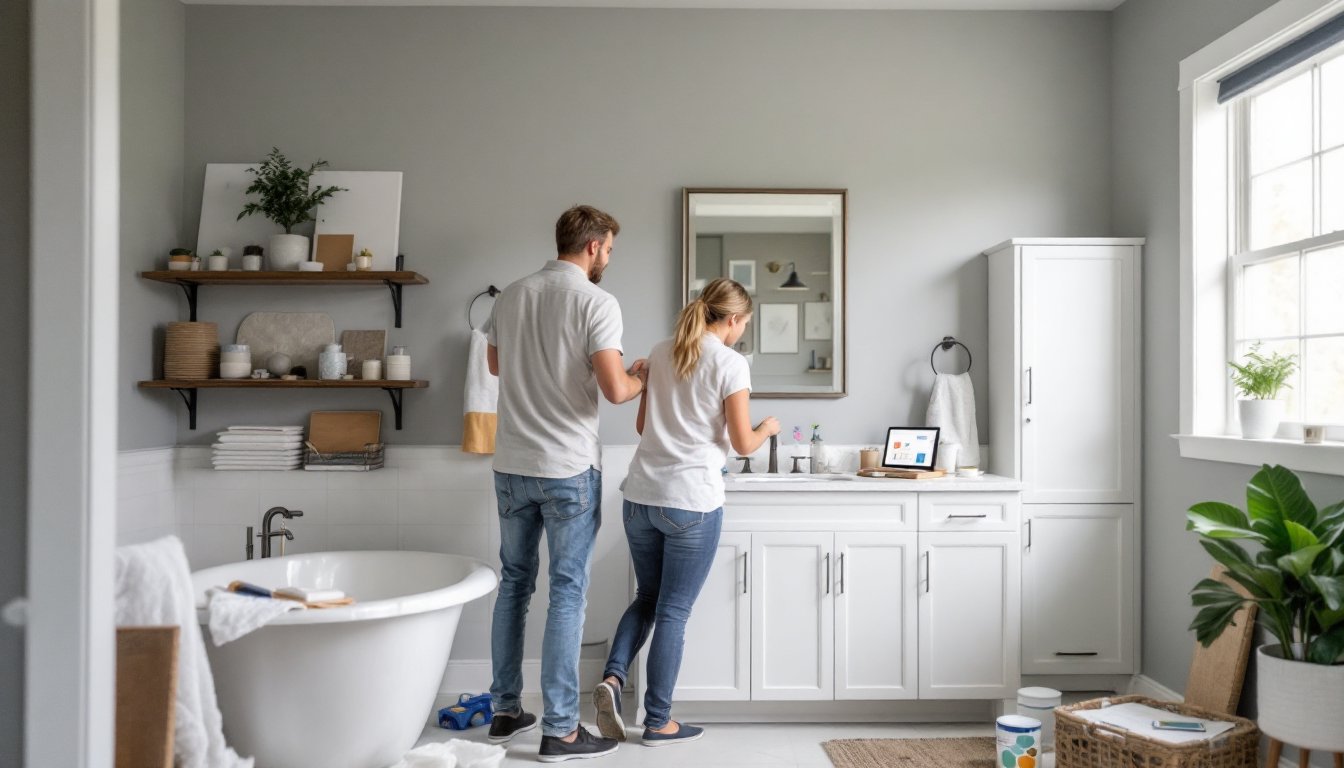
Start by measuring your bathroom accurately. Grab a tape measure and record ceiling height, wall lengths, and clearances for doors, drawers, and existing fixtures. Note which elements will stay (toilet, tub, vanity) and which you’ll replace or refresh. This distinction controls costs dramatically.
Decide early what you’re updating: paint and hardware only, or are you replacing the vanity, mirror, and flooring too? A cosmetic DIY bathroom makeover, paint, new hardware, updated lighting, typically costs $500 to $1,500 and takes 2–3 weekends. A more involved DIY bathroom remodel with flooring and fixture changes can run $2,000–$5,000 and take several weekends or longer.
Plan for hidden costs: permits (required in many jurisdictions for electrical or plumbing changes), waste removal, and temporary bathroom access if you share the space with others. Build a 15–20% contingency buffer into your budget for unexpected issues, water damage behind walls, outdated wiring, or material shortages happen more often than expected.
Plan Your Design and Inspiration
Before buying anything, choose your design direction. Look at color schemes that match your bathroom‘s size and existing style. Small bathrooms benefit from light, neutral palettes and minimal visual clutter. Larger bathrooms can handle deeper colors or patterned finishes.
Decide on fixture locations first. Moving a toilet or tub usually requires plumbing work and often a permit, stay away from that unless you’re comfortable with soldering copper or calling a plumber. Replacing a vanity in its current location, updating a mirror, or adding sconces around the existing mirror are simpler changes with high visual impact.
Pick a finish theme: are your metals brushed nickel, chrome, bronze, or matte black? Coordinate faucets, cabinet hardware, towel rings, and light fixtures so they match. Inconsistent finishes make a space feel scattered, even if the paint and tiles are beautiful. Real bathroom makeovers often use stylish water closet decorating ideas to guide fixture and accessory choices in smaller spaces.
Tackle Paint and Finishes
Paint is the quickest, most affordable update. Choose bathroom-specific paint, semi-gloss or satin finishes resist moisture better than flat. Prep is essential: clean walls thoroughly, fill small holes with spackling compound, and sand any glossy surfaces lightly so primer and paint adhere well. Primer is not optional in bathrooms: it blocks stains and improves adhesion.
If painting over existing semi-gloss trim or vanities, use 120-grit sandpaper to dull the finish, wipe with a tack cloth, and apply primer before paint. Two coats of quality bathroom paint typically cover 350–400 square feet per gallon.
Consider adding painted beadboard or wainscoting panels (tongue-and-groove boards installed horizontally, typically 3–4 feet high) for visual interest without major work. Paint them a contrasting color, white panels with soft gray walls, for example. Wallpaper in moisture-resistant brands also works, though it requires more careful surface prep and removal later.
For budget makeovers, painting cabinet doors and the vanity base yourself saves hundreds. Use painter’s tape, primer, and semi-gloss paint. Three thin coats beat two thick ones. Allow 24 hours between coats and full cure time (check the can) before reinstalling hardware.
Update Fixtures and Hardware
Swapping cabinet hardware, drawer pulls, knobs, and hinges, takes an hour and transforms the vanity instantly. Match the finish to your new color scheme. Replacing a mirror is equally quick: unscrew or gently pry the old one from its clips, remove adhesive residue with a putty knife, and install a new mirror using mounting hardware or mirror adhesive (apply silicone caulk behind it, not adhesive alone, for safety).
Faucet replacement is straightforward if you keep the vanity in place. Turn off water supply valves under the sink, unscrew the old faucet, and install the new one following the manufacturer’s instructions. This is a plumbing DIY task most homeowners can handle, no permit needed unless local code requires it.
Replacing the vanity itself means disconnecting the plumbing (supply and drain lines) and removing fasteners. If you’re comfortable with basic plumbing, this is doable: if not, hire a plumber for 1–2 hours to disconnect and reconnect. The cabinet installation itself is straightforward: level and secure the new vanity to the wall studs using brackets or screws.
Towel bars, soap dispensers, robe hooks, and shelving are quick wins. Use toggle bolts or stud anchors rated for your fixture’s weight. Bathrooms have moisture and activity, so secure mounting matters for safety.
Refresh Lighting and Ventilation
Lighting affects how the space feels and functions. Replace overhead fixtures or add task lighting beside the mirror, standard vanity lights are 24–36 inches wide and mount on the wall 24–30 inches above the sink counter. Task lighting reduces shadows when grooming and improves the room’s overall brightness.
Before touching electrical work, turn off power at the breaker panel and use a non-contact voltage tester to confirm the circuit is dead. If you’re confident with basic wiring, swapping like-for-like fixtures (old sconce for new sconce) is a standard DIY task. If you’re adding a new circuit or moving outlets, hire a licensed electrician, most jurisdictions require permits and inspection.
Match light fixture finishes to your hardware. Brushed nickel sconces paired with a brushed nickel faucet create cohesion. A poorly coordinated mix, brushed nickel with oil-rubbed bronze and chrome, feels accidental.
Check your exhaust fan. If it’s over 15 years old or vents into the attic (not outdoors), replacing it prevents mold and improves air quality. A new 80–110 CFM (cubic feet per minute) fan suits most bathrooms. This is electrical work: hire a pro if you’re unsure.
Add Final Touches and Decor
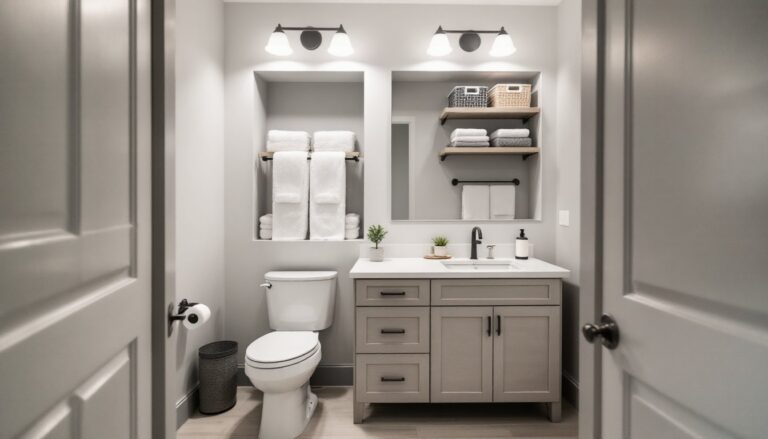
Finishing touches complete the look. Add towel bars, shelving, a new shower curtain rod, and coordinated bath rugs and towels in your color scheme. Accessories don’t have to be expensive, solid-color items in the right finish (brushed nickel towel ring, matte black shelves) tie everything together.
Small decor items matter. A framed print, potted plant, or woven basket on a shelf adds personality without clutter. A new mirror frame (if replacing the entire mirror isn’t in the budget) can also refresh the focal point. Real makeover inspiration comes from beautiful beachy bathrooms and other design galleries that show how accessories, finishes, and layouts work together.
If you’ve repainted or updated the vanity, hang a new shower curtain or liner in a fresh color or pattern. Replace the toilet seat if it’s worn, a soft-close seat is durable and feels like a small luxury. Update soap dispensers, toothbrush holders, and trash cans so they match or complement your hardware.
Step back and photograph your work. A before-and-after comparison validates the effort and reminds you why DIY projects are rewarding. Many homeowners find real bathroom makeover examples helpful for spotting details they missed in their own plans.
Conclusion
A successful DIY bathroom makeover balances planning, selective updates, and coordinated finishes. By assessing your space honestly, setting a realistic budget, and focusing on high-impact changes, paint, hardware, lighting, and fixtures, you’ll achieve a polished result without professional costs. Whether your project is a simple DIY bathroom reno focused on paint and accessories or a more involved DIY bathroom remodel with new vanities and lighting, the key is thoughtful planning and quality execution of prep work. Start small, measure twice, and don’t hesitate to call a professional for electrical, plumbing, or structural work outside your skill level. Your refreshed bathroom will prove the effort worthwhile.