
A kitchen renovation doesn’t require a second mortgage or a crew of contractors. With a clear plan, the right materials, and realistic expectations about what you can handle yourself, homeowners can transform dated kitchens into functional, modern spaces for a fraction of contractor-quoted prices. This guide walks through the most impactful DIY kitchen upgrades, from cabinet refinishing to backsplash installation, with honest assessments of difficulty, cost, and where to call in professional help. Whether working with a $2,000 budget or $10,000, strategic DIY work delivers the biggest return on both investment and sweat equity.
Key Takeaways
- A DIY kitchen renovation can transform dated kitchens into modern spaces for a fraction of contractor costs by focusing on high-impact projects like cabinet refinishing, backsplash installation, and fixture updates.
- Budget-friendly upgrades such as cabinet hardware replacement ($3-8 per piece), peel-and-stick backsplash tiles ($8-15 per sq ft), and under-cabinet LED lighting ($25-60) deliver significant visual improvements without major expenses.
- Proper planning requires detailed measurements, photographs, prioritization by impact and difficulty, and setting a 15-20% contingency buffer to avoid costly mistakes and incomplete projects.
- Cabinet painting ($300-700 in materials) works best when boxes are structurally sound, while replacement ($3,000-15,000+) is necessary for water damage or delamination—the process requires 4-5 days of kitchen downtime with proper surface prep and multiple coats.
- DIY-friendly countertop options include laminate, butcher block, and tile, while quartz and granite require professional installation due to weight and precision requirements.
- Common DIY kitchen renovation mistakes to avoid include inadequate surface preparation, using wrong paint products, ignoring the work triangle, rushing drying times, and attempting structural or electrical work beyond permit-free scope.
Planning Your DIY Kitchen Renovation Project
Before tearing out a single cabinet or buying paint, map out the full scope. Walk through the kitchen with a notebook and document everything that needs attention: cabinet condition, countertop wear, outdated fixtures, lighting inadequacy, and flooring issues. Prioritize projects by impact and difficulty.
Take detailed measurements of all surfaces, cabinet faces, countertop runs, backsplash areas, and wall dimensions. Photograph everything from multiple angles. These references prevent costly ordering mistakes and help when consulting with pros about electrical or plumbing work that’s beyond DIY scope.
Decide what stays and what goes. Keeping the existing layout (no moving appliances, sink, or range) avoids the need for plumbing and electrical permits in most jurisdictions, saving thousands in contractor fees. Moving a gas line or adding a 240V circuit for a new range requires licensed work.
Setting a Realistic Budget and Timeline
Break costs into categories: materials, tools you don’t own, unexpected repairs (there are always some), and a 15-20% contingency buffer. A modest cabinet paint job might run $300-500 in materials: full countertop replacement in laminate starts around $800-1,200 for an average 10×10 kitchen, while quartz jumps to $2,500-4,000 depending on region and edge profiles.
Timeline reality: painting cabinets properly takes 3-5 days with drying time between coats. Countertop templating and fabrication adds 1-2 weeks of lead time. Budget at least 4-6 weekends for a comprehensive DIY kitchen refresh if working evenings and weekends. Trying to rush through in one frantic weekend leads to sloppy work and buyer’s remorse.
Phase projects if budget is tight. Tackle painting and hardware first, then save for countertops, then update lighting. Living with a partial renovation beats starting projects you can’t finish or draining the emergency fund.
Budget-Friendly Updates That Make the Biggest Impact
Some upgrades punch way above their cost. Start here if working with limited funds.
Cabinet hardware replacement transforms the look for $3-8 per pull or knob. Switching from brass builder-grade to matte black or brushed nickel instantly modernizes. Measure existing hole spacing (most are 3″ or 3.75″ center-to-center) before ordering to avoid new drilling.
Peel-and-stick backsplash tiles have improved dramatically. Quality products now include textured glass, aluminum, and stone-look options at $8-15 per square foot. Installation requires only a utility knife, level, and patience. Clean and prime the wall first, adhesive won’t stick to greasy drywall.
Under-cabinet LED strip lighting costs $25-60 per run and plugs into existing outlets. The difference in task lighting and ambiance is immediate. Look for high-CRI (90+) models so food colors look natural.
Painting walls in a modern neutral (greige, soft white, or warm gray) makes everything else look fresher. Use semi-gloss or satin finish in kitchens, easier to wipe down than flat. Two coats over primer runs about $60-80 in paint for an average kitchen.
Open shelving (replacing 1-2 upper cabinets) creates visual interest and costs almost nothing if using reclaimed wood or dimensional lumber. Mount to studs using heavy-duty brackets rated for the load. Expect to display only your best-looking dishes, this isn’t hidden storage.
Painting Cabinets vs. Replacing: What You Need to Know
This decision hinges on cabinet condition and budget reality. Replacement cabinets start around $3,000-5,000 for stock builder-grade boxes in a small kitchen, while semi-custom jumps to $8,000-15,000+. Painting runs $300-700 in materials for a DIY job.
Paint if: cabinet boxes are structurally sound (no water damage, solid door attachment, drawers glide smoothly), the layout works, and you’re okay with the existing style. Flat-panel shaker doors paint beautifully. Ornate raised-panel or thermofoil cabinets are trickier but doable.
Replace if: doors are delaminating, boxes are particle board that’s swollen from leaks, or the configuration is dysfunctional (no drawers, awkward corner access). Also replace if going from dark stained oak to light paint, the grain will telegraph through even with multiple coats and primer.
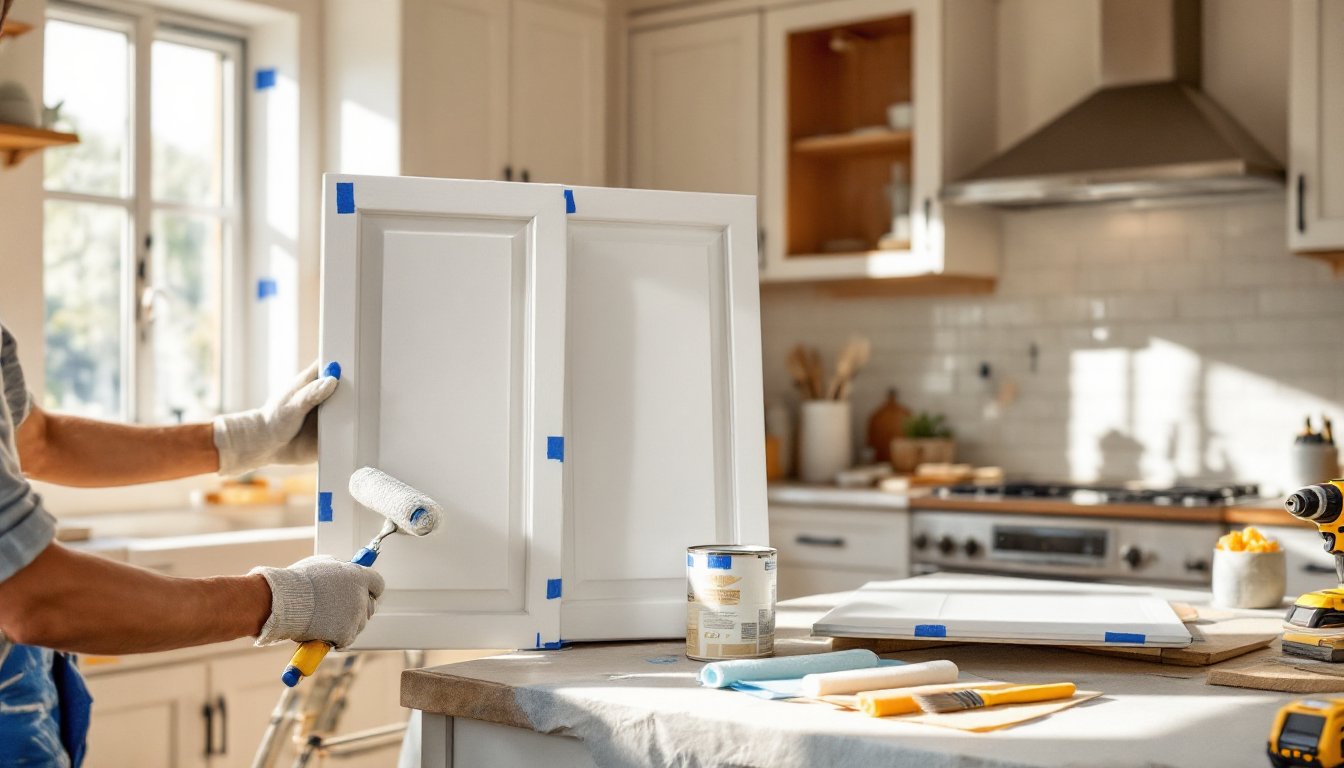
The painting process isn’t casual. Remove all doors and hardware, clean with TSP or degreaser, sand with 220-grit, apply bonding primer (BIN shellac-based or oil-based), then two coats of cabinet-grade paint (waterborne alkyd or acrylic enamel). Each coat needs 24 hours to cure. Use a foam roller for flat surfaces and a quality brush for edges, cheap brushes leave streaks.
Spray painting delivers the smoothest finish but requires a HVLP sprayer ($150-400), proper ventilation, and masking the entire kitchen. For most DIYers, rolling and brushing works fine with patience.
Expect the kitchen to be unusable for 4-5 days. Set up a temporary coffee and snack station elsewhere. Plan meals that don’t require full kitchen access.
DIY Countertop and Backsplash Installation
Countertops range from easy DIY to “definitely hire a pro.” Laminate, butcher block, and tile are DIY-friendly. Quartz, granite, and solid surface require professional fabrication and installation due to weight (a 10′ slab weighs 400+ pounds) and the precision cutting needed for sinks and cooktops.
Butcher block installation is the most accessible. Sheets come in standard depths (25″ is common for standard cabinets). Cut with a circular saw, sand edges, apply multiple coats of food-safe mineral oil or polyurethane, then fasten from below using figure-8 fasteners that allow wood movement. Cost: $40-60 per linear foot.
Tile countertops offer design flexibility but require careful layout, a wet saw for cuts, and proper underlayment (cement backer board over plywood base). Use epoxy grout in kitchens, it resists staining better than standard grout. Installation difficulty is moderate: expect a weekend for a small kitchen if you’ve tiled before.
For backsplash, subway tile remains popular for good reason, simple layout, widely available, forgiving for beginners. Standard 3″×6″ tiles run $3-10 per square foot. You’ll need:
- Thinset mortar (pre-mixed or powder)
- Notched trowel (1/4″ × 1/4″ for small tiles)
- Tile spacers (1/8″ or 3/16″)
- Wet saw or tile cutter
- Grout and float
- Sponges and buckets
Installation steps:
- Mark a level line for the bottom row (use a 4′ level).
- Apply thinset in small sections, comb with notched trowel.
- Set tiles with spacers, checking level frequently.
- Let cure 24 hours.
- Apply grout, wiping diagonally across tiles.
- Clean haze after 20 minutes, then buff with microfiber cloth.
Many DIY projects benefit from exploring home renovation resources for material cost comparisons and detailed planning tools.
Updating Lighting and Fixtures for a Modern Look
Lighting transforms how a kitchen functions and feels. Many updates are DIY-friendly, but know where the electrical code draws the line.
Swapping fixtures (like-for-like replacement, same mounting box) doesn’t require a permit in most areas. Shut off power at the breaker, test with a voltage tester, disconnect old fixture, connect new one matching wire colors (black to black, white to white, ground to ground), secure mounting, restore power. Wear safety glasses and work on a stable ladder.
Adding new circuits or moving junction boxes requires an electrician and permit. Also hire a pro for anything involving the main panel or aluminum wiring (common in homes built 1960s-70s).
Recessed can lights retrofit kits simplify upgrades. Newer LED retrofit cans clip into old housings and connect to existing sockets, no rewiring. Choose 3000K-4000K color temperature for kitchens (warm white to neutral). Dimmer-compatible models add flexibility.
Pendant lights over islands create focal points. If the junction box is already centered over the island, installation is straightforward. If not, moving the box is electrical work best left to a licensed pro unless you’re comfortable running cable through walls and working in the attic.
Track lighting offers adjustable task lighting without multiple junction boxes. Surface-mounted or stem-mounted versions install easier than recessed. Modern low-voltage LED tracks look cleaner than older bulky systems.
Always match the fixture wattage and bulb type to the existing wire gauge. 14-gauge wire (15-amp circuit) is standard for lighting: 12-gauge (20-amp) for receptacles. Overloading circuits causes nuisance tripping or fire risk.
Common Mistakes to Avoid in Your Kitchen Makeover
Most DIY kitchen disasters stem from skipping basics or overestimating skill level. Here’s what goes wrong:
Inadequate surface prep. Painting cabinets without cleaning and sanding leads to peeling paint within months. Grease and cooking residue prevent adhesion. Spend the time with TSP and 220-grit sandpaper.
Wrong paint products. Wall paint doesn’t hold up on cabinets. Use alkyd or acrylic enamel formulated for trim and cabinets. Expect to spend $40-60 per quart, cheap paint delivers cheap results.
Not removing doors to paint. Trying to paint installed doors leaves drips, missed edges, and uneven coverage. Take them off, label them with painter’s tape, paint horizontally on sawhorses.
Ignoring the work triangle. If modifying layout (even slightly), maintain efficient paths between sink, stove, and refrigerator. The combined distance should be 13-26 feet for functional workflow.
Choosing tile without considering grout maintenance. White grout in backsplashes looks great on install day, then shows every splatter. Choose mid-tone grays or use epoxy grout (stain-resistant but harder to work with). Finding inspiration for DIY home renovations can help avoid common planning mistakes.
Forgetting about ventilation. If painting cabinets or applying polyurethane, open windows and use fans. VOCs and fumes aren’t just unpleasant, they’re hazardous. Wear a respirator with organic vapor cartridges for oil-based products.
Underestimating timeline. Rushing through drying/curing times leads to marred finishes. If the paint can says 24-hour recoat time, wait the full 24 hours even if it feels dry.
Skipping the mockup. For tile, paint colors, or hardware, test first. Buy a single tile and live with it on the wall for a few days. Paint a sample board and view it in morning and evening light. Order one cabinet pull to feel the weight and finish.
DIY-ing structural changes. Removing walls (even “non-load-bearing” ones, confirm with a pro), moving plumbing vents, or upgrading electrical panels are not DIY projects unless the homeowner has trade experience and proper permits. Code violations create safety hazards and complicate future home sales.
Not planning for temporary kitchen loss. Have a plan for meals during the renovation. A cooler, microwave, and outdoor grill go a long way. Ordering takeout for every meal erases budget savings.
Many kitchen design platforms offer organizational strategies and practical layout ideas that complement renovation work. For straightforward updates that require minimal specialized skills, DIY kitchen projects provide accessible starting points.
Safety gear isn’t optional. Safety glasses, dust masks (N95 minimum for sanding), hearing protection (when using saws), and cut-resistant gloves (for tile work) prevent injuries that derail projects and cost more than the gear.


