
Planning a DIY bathroom renovation doesn’t mean you need a contractor’s budget or six-month timeline. With solid planning, the right approach, and honest self-assessment, homeowners can transform their bathrooms affordably and on their own terms. Whether you’re tackling a full bathroom reno or targeted updates, the difference between success and frustration comes down to clear goals, realistic budgeting, and knowing which projects deliver the biggest visual and functional payoff. This guide walks you through the planning phase, the foundation that makes every other decision easier.
Key Takeaways
- A successful DIY bathroom reno starts with assessing structural issues and safety concerns before tackling cosmetic updates, saving time and preventing costly surprises.
- Strategic prioritization—fixing leaky fixtures and water damage first, then high-impact cosmetics like lighting and paint—delivers maximum results without overwhelming the timeline.
- Smart budgeting allocates funds across flooring, fixtures, cabinetry, and paint with a 10% contingency, keeping DIY bathroom reno costs between $1,500 and $10,000+ depending on scope.
- Measuring twice, ordering samples, and accounting for delivery delays ensures you select the right materials and stay on schedule without rushing purchases.
- Phasing projects over time—starting with quick wins like paint and hardware swaps—builds confidence and momentum while keeping the bathroom functional throughout your DIY renovation.
- Checking local building codes and obtaining permits for electrical and plumbing work protects your home’s resale value and ensures safety compliance.
Assess Your Current Bathroom and Set Goals
Start by walking through your bathroom with a clear eye. Is the plumbing functional? Are there water stains, soft spots in the floor, or crumbling grout that signal deeper issues? Are the walls level? Does the ventilation work? These aren’t aesthetic questions, they’re structural and safety questions that determine whether you’re doing cosmetic work or addressing bone-deep problems.
Next, write down what bothers you. Bad lighting? Tiny vanity? Leaky faucet? No storage? Cracked tile? Be specific. This list becomes your priority matrix later. Many DIYers feel pressured to gut their entire bathroom when a few targeted fixes would solve 80% of their frustration.
Then, measure everything: floor dimensions, wall lengths, ceiling height, window placement, and existing fixture locations. Snap photos from multiple angles with a timestamp. This reference material is invaluable when you’re selecting materials or troubleshooting at a hardware store. Jot down what’s currently there, tile size, paint color, hardware finishes, so you can match or intentionally contrast later.
Create a Realistic Budget and Timeline
A typical DIY bathroom renovation cost varies wildly depending on scope. Basic cosmetic updates (paint, new fixtures, hardware) might run $1,500–$3,000. Replacing flooring, cabinets, and shower tile? $5,000–$10,000 or more. Plumbing or electrical work can quickly balloon costs if complications arise.
Start by setting a total budget, then allocate percentages: 30% flooring and tile, 25% fixtures and hardware, 20% cabinetry and vanity, 15% paint and finishing, 10% contingency (unexpected repairs or material waste). The budgeting guide for homeowners on Bob Vila’s site offers detailed cost breakdowns by material grade and region, use it to stress-test your numbers.
For timeline, a weekend refresh (paint, hardware swap, caulking) takes 2–3 days. Tile work, new vanity, and light fixtures? 2–3 weeks part-time. Major plumbing or electrical changes? Budget 4–6 weeks and consider when you can live without a fully functional bathroom. Don’t underestimate prep time, measuring, ordering, material acclimation (especially wood and tile), and surface preparation typically eat 20–30% of your schedule.
Choose Your Priority Projects
Not everything needs to happen at once. A smart DIY bathroom remodel spreads work over time, focusing first on projects that fix problems or deliver the most visual impact.
High-priority work: anything affecting function or safety. Leaky faucets, broken exhaust fans, water-damaged walls, crumbling grout, or non-slip surfaces in a shower. These either cause further damage or create daily frustration. Fix them first, even if they’re not glamorous.
High-impact cosmetics: new lighting, fresh paint, and updated fixtures transform a space dramatically for reasonable effort and cost. Repainting walls and trim takes a weekend. Swapping out a faucet, towel bars, and mirror frame takes an afternoon. These projects build momentum and confidence.
Low-priority or phased work: major tile replacement, cabinet refacing, or structural changes can wait until you’ve completed the faster wins and refined your design vision. Watching your bathroom improve in stages keeps you motivated and gives you time to source materials and tools without rushing.
Before deciding, ask yourself: Does this fix a problem? Does it improve daily use? Does it look significantly better? If two out of three answers are yes, it belongs in phase one.
Gather Tools and Materials
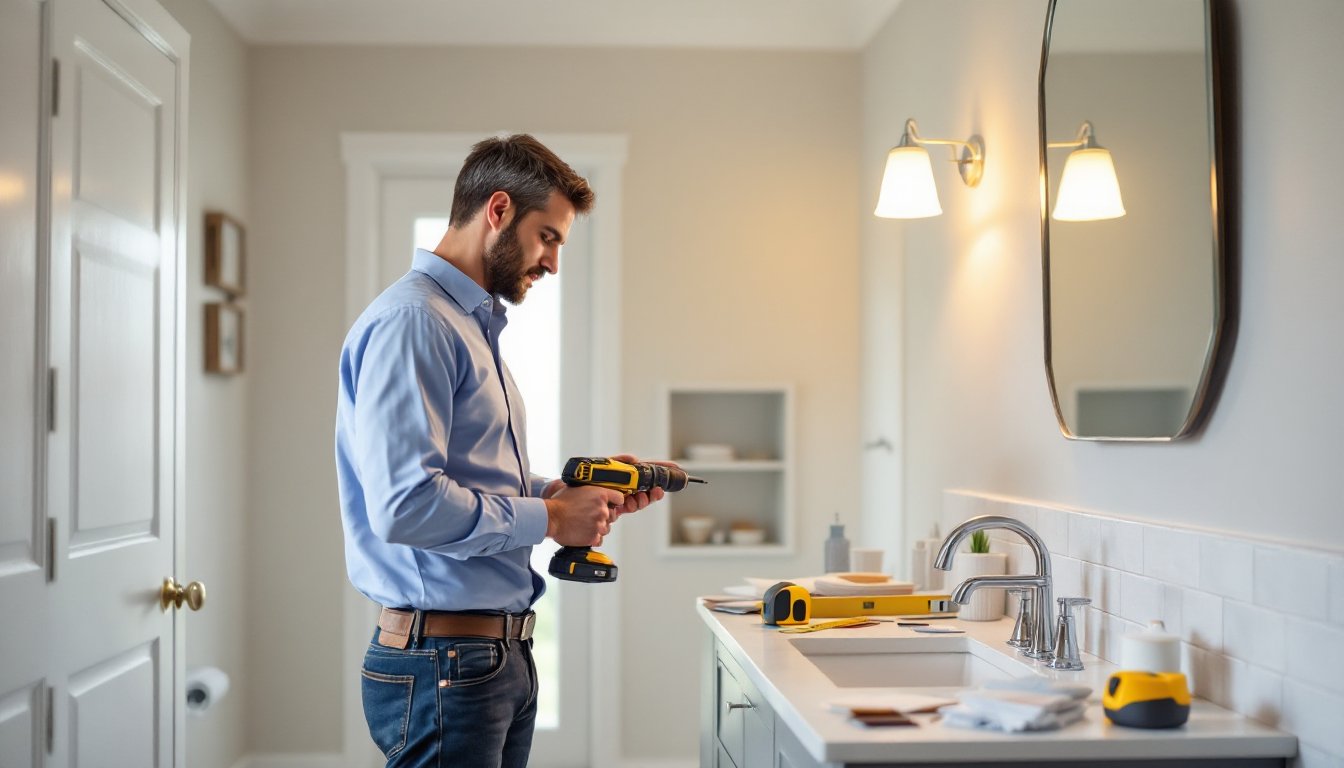
You don’t need a workshop to tackle a bathroom reno, but you do need the right tools for your specific projects. A basic kit includes: a cordless drill-driver, level, tape measure, stud finder, grout float, caulk gun, adjustable wrench, and a utility knife. For tile work, add a wet saw (rent, don’t buy, unless you’re doing multiple bathrooms) or tile cutter, notched trowel, and grout sponge. For plumbing, a pipe wrench and adjustable wrenches cover most fixture swaps.
Material sourcing matters. Visit your local supplier in person, not just online, see colors, textures, and finishes under the actual lighting you’ll have. Order samples. Tile, paint, and stain look different under fluorescent, LED, and natural light. Buy extra: 10–15% overage for tile, grout, and paint covers waste, mistakes, and future repairs.
For a bathroom reno DIY project, account for delivery times. Vanities and special-order fixtures can take 2–4 weeks. Don’t let a single delayed shipment derail your timeline. Family Handyman has solid tutorials on tool use and material selection for most bathroom projects if you’re unfamiliar with specific techniques.
Always check local building codes before starting. Some municipalities require permits for electrical or plumbing work, even DIY updates. It’s tedious, but permits protect your home’s resale value and ensure safety. Ask your local building department, most have checklists for bathroom work.
Tackle High-Impact Updates First
After assessment and planning, move forward strategically. Start with prep: repair water damage, patch walls, address plumbing leaks, and ensure ventilation works. These aren’t visible, but they’re foundational.
Then, tackle lighting and paint. Good lighting transforms a bathroom instantly and costs little. Upgrade from a single overhead fixture to layered light (vanity sconces, overhead, and accent lights). Paint walls and trim, fresh color is the fastest confidence builder. A fresh bathroom reno DIY coat of paint plus new hardware can make a dated bathroom feel completely renewed.
Next, update fixtures and hardware. Swapping a faucet, towel bars, toilet seat, and mirror takes a few hours and costs $300–$800, yet the visual lift is substantial. Ensure water lines are accessible and the old fixture comes off cleanly, sometimes corroded connections require penetrating oil and patience.
Then move to tile or flooring if needed. Tile work is labor-intensive and messy, but achievable for DIYers. Start small, a backsplash or accent wall, before tiling an entire floor. Use proper underlayment (cement backer board for wet areas, not drywall), allow grout to cure fully, and seal grout if needed. A complete guide to a stunning makeover breaks down tile techniques step by step.
Finally, larger projects like vanity replacement or major plumbing can happen last. These typically require turning off water, disconnecting plumbing, and patching walls, disruptive work that’s easier once the “big picture” is set. Save the kitchen renovation scale overhauls for when you’re confident in your skills and timeline.
Conclusion
A DIY bathroom renovation is entirely manageable when you start with clear assessment, honest budgeting, and phased priorities. You don’t need to tackle everything at once. Fixing functional issues, updating lighting and paint, and swapping fixtures deliver outsized visual impact without requiring advanced skills. The key is measuring twice, ordering once, and respecting the process, prep work and surface preparation matter far more than speed. Start small, build confidence, and scale up as you go.


