
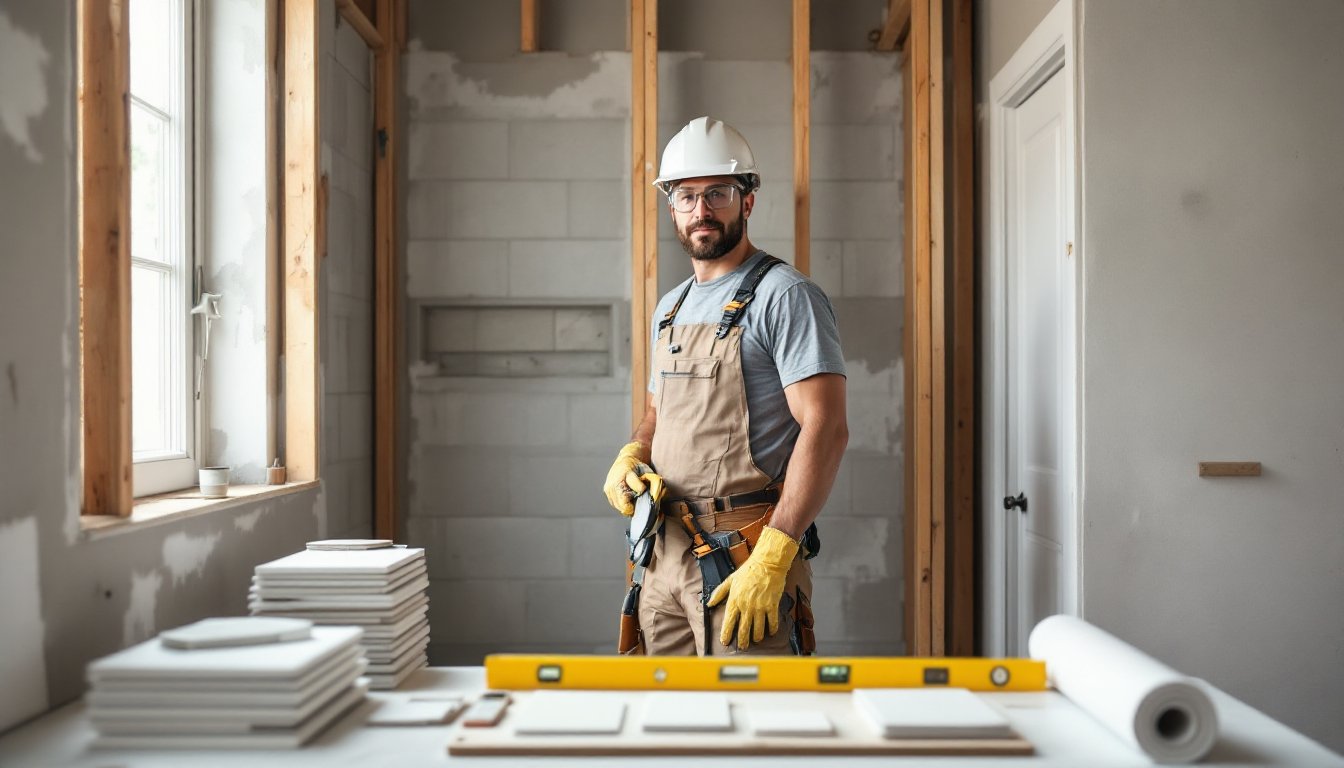
A DIY shower renovation might seem daunting, but it’s one of the most achievable bathroom projects you can tackle yourself. Whether you’re refreshing tired tile, upgrading fixtures, or doing a full DIY bathroom remodel, a focused shower renovation delivers major visual impact without requiring a contractor’s timeline or budget. This guide walks you through planning, demolition, and installation with honest talk about what you can DIY and where to call in professionals. By the end, you’ll understand the real scope of work and have a concrete plan to transform your shower.
Key Takeaways
- A DIY shower renovation is achievable without contractors if you prioritize proper planning, demolition, waterproofing, and safety—making it one of the most realistic bathroom projects for homeowners.
- Essential tools include a reciprocating saw, moisture meter, tile cutter, safety gear, and a wet-dry shop vacuum; always turn off water at the shutoff valve before beginning demolition to prevent costly damage.
- Waterproofing is the critical step in any shower renovation—use liquid or sheet membrane applied per manufacturer specs, as failure here leads to hidden mold and rot behind walls.
- Speed up your DIY shower renovation by considering alternatives to full tile removal, like epoxy-based tile paint or overlay panels, which can transform your shower in a weekend for under $200.
- Measure twice and order 10–15% extra tile to account for cuts and breakage; acclimate all materials to your bathroom’s humidity for 48 hours before installation to prevent adhesive failure.
- After grouting and caulking, test the shower at full volume for 10 minutes to check for leaks—proper surface prep and cure times are non-negotiable for a shower that lasts years.
Planning Your Shower Renovation: Tools, Materials, and Smart Strategies
Essential Tools and Materials You’ll Need
Before you swing a hammer, gather your toolkit. You’ll need a reciprocating saw (or regular handsaw) for demolition, a moisture meter to check for hidden water damage, a tile cutter or wet saw for precise cuts, a grout float for finish work, and a caulk gun for sealing. A shop vacuum with wet-dry capability is non-negotiable, shower demolition produces dust and debris. Add safety gear: ANSI-rated safety glasses, dust mask or respirator (especially important when removing old tile that may contain asbestos in pre-1980s installations), work gloves, and hearing protection if using power tools.
Material lists vary by approach. For a tile-focused DIY bathroom renovation, you’ll need waterproofing membrane (liquid or sheet, research which suits your substrate), uncoupling mat or tape to prevent cracks, thinset mortar, grout, and silicone caulk rated for wet areas. Grab sample tiles before committing to a full order: color and finish shift under your bathroom lighting. If replacing fixtures, have new valve bodies, trim rings, and rough-in measurements confirmed before walls close up.
Simplify Your Project: Renovation Strategies That Save Time and Money
Full tile removal and replacement takes 3–5 days for a modest shower. A faster alternative: paint ceramic tile with epoxy-based tile paint or resurface with overlay panels (sheet materials that adhere over existing tile). These skip demolition and tiling time, though durability depends on prep work and product choice. Professional resources like Family Handyman offer detailed tutorials on both methods.
Consider phased work. Replacing the showerhead, trim rings, and caulk costs under $200 and transforms the shower’s appearance in a weekend. If your tiles are sound but outdated, a tile-over approach saves money and mess compared to full removal. Budget $15–30 per square foot for material (tile, waterproofing, grout, caulk) plus 2–3 times that for labor if hiring, but you’re doing the work, so factor in your time and skill level honestly.
Measure twice, order once. Shower niches, corners, and thresholds require custom cuts. Order 10–15% extra tile to account for cuts, breakage, and future repairs. Acclimate materials to your bathroom’s humidity for 48 hours before installation: temperature and moisture swings cause adhesive failure.
Demolition and Preparation: Protecting Your Bathroom
Turn off water at the shutoff valve, usually located under the sink or in a basement. Locate the main shutoff if you’re unsure. Damage to supply lines or the valve during demo costs hundreds in water damage.
Remove the escutcheon (trim ring) carefully: it often sits over the valve body and must come out first. Use a flatbar, not a hammer, to pry gently. Once trim is free, you can assess what’s behind, old caulk, drywall, or tile adhesive.
For full demolition, use a reciprocating saw with a metal-cutting blade to cut away tile and backing. Work methodically: rushing causes cuts and injuries. Wear your respirator throughout this phase. Bag debris as you go to avoid scattered glass and sharp pieces. Check walls for water damage or rot, soft drywall or studs signal a leak history. These must be addressed before closing walls back up, otherwise you’re just hiding a future problem.
Once tile and backing are removed, inspect the rough framing. If using a standard shower space, studs sit 16 inches on center. Verify they’re plumb (use a level) and solid. DIY bathroom reno work often reveals sloped or damaged studs, address these before waterproofing. Replace rotted sections or shim out of-plumb studs to achieve a square, stable surface. Waterproofing applied over uneven backing fails prematurely.
Clean the surface thoroughly. Remove loose material, dust, and debris. The surface should be solid, stable, and as smooth as reasonable. Gaps and voids under waterproofing traps moisture: fill them with cement board scraps or caulk.
Installing Your New Shower: From Waterproofing to Finishing Touches
Waterproofing, Tiling, and Grouting Your Shower Walls
Waterproofing is the critical step. A shower is a wet room, failure here means mold, rot, and costly repairs hidden behind walls. Use a liquid-applied waterproofing membrane (like Schluter, Hydro-Ban, or Noble Seal) or sheet membrane tape applied to seams and corners. Liquid versions offer flexibility: sheets save time but require careful seam overlap. Follow manufacturer specs exactly: apply recommended thickness, allow cure time, and don’t skip corners or rough-in penetrations (where pipes enter).
Once waterproofing cures (typically 24–48 hours), install an uncoupling mat or tape. This prevents cracking caused by substrate movement. Press it firmly into thin-set mortar, using a notched trowel (check mat instructions for trowel size). The mat decouples the tile from the substrate, absorbing minor shifts without cracking grout lines.
Next comes tiling. Apply thinset mortar (not mastic) using a notched trowel held at a 45-degree angle. Press tiles firmly into the mortar, using spacers to maintain consistent grout lines (typically 1/16 inch to 1/4 inch). Let thinset cure per instructions, usually 24 hours.
Grout fills the spaces between tiles. Use sanded grout for joints wider than 1/8 inch (looks better, more durable) and unsanded for narrow joints (easier to work, less prone to shrink cracks in tight spaces). Mix grout to a peanut butter consistency, too thick, it won’t flow: too thin, it shrinks and cracks. Apply grout using a grout float, pushing it diagonally across tiles. After 15–20 minutes, wipe excess with a damp sponge, rinsing frequently. Grout must cure before water exposure: check product timing (usually 3–7 days, depending on depth and humidity).
Once grout cures, apply silicone caulk, not grout, at inside corners, where the shower meets the curb, and around pipes. Caulk flexes with movement: grout doesn’t and will crack. Use paintable 100% silicone for appearance and durability. Smooth caulk with a wet finger or plastic tool before it skins over.
Finally, install trim pieces (corner guards, soap niches, shelves) and test water flow. Run the shower at full volume for 10 minutes, checking for leaks inside walls or under the floor. No leaks? You’ve built a shower that lasts. Design-forward renovation inspiration can guide your tile and color choices for a polished final look.
Conclusion
A DIY shower renovation or DIY bathroom reno project is realistic for homeowners willing to slow down and do surface prep right. The hardest part isn’t installation, it’s demolition and waterproofing setup. Skip neither. Your reward is a shower that looks new, feels solid, and stays watertight for years. Start small if you’re unsure: paint existing tile or upgrade fixtures before tackling a full tile replacement. Once you’ve done it once, the next shower renovation feels manageable. You’ve got this.


