
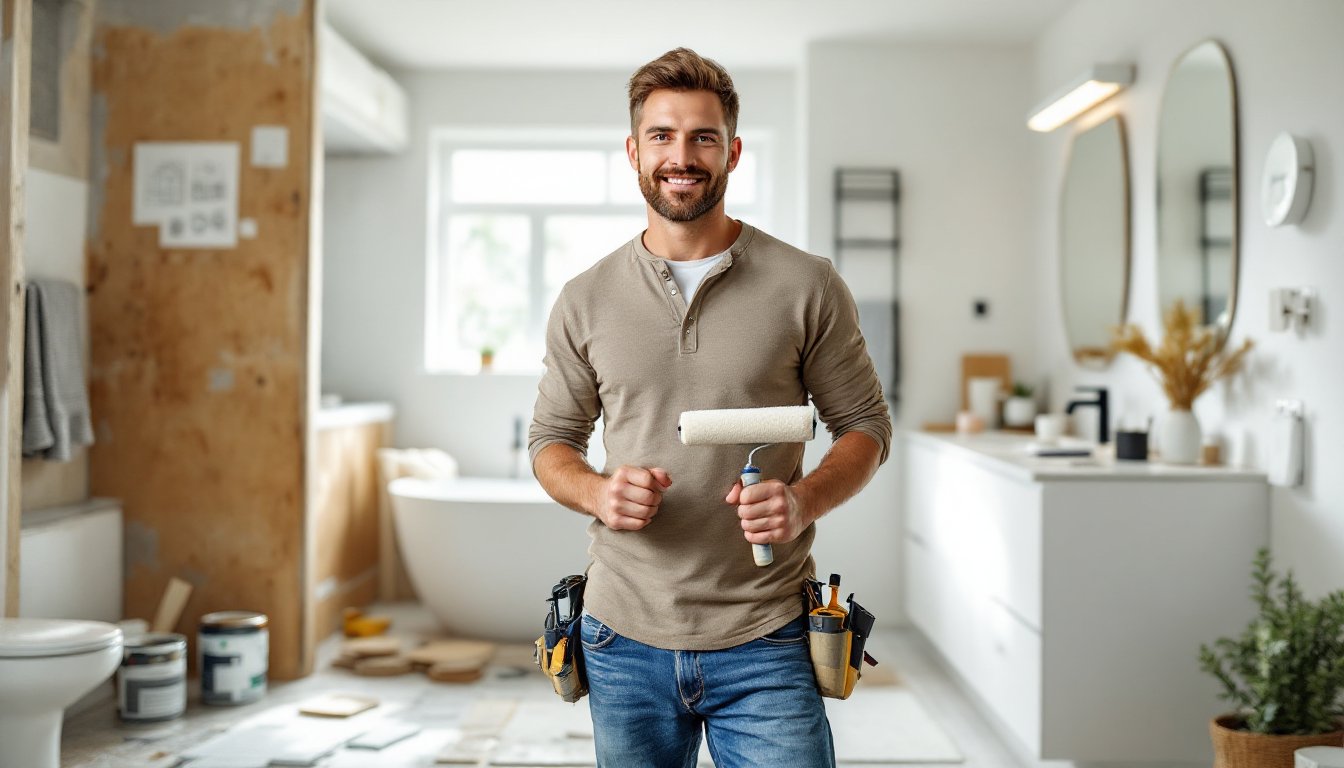
A bathroom renovation doesn’t require a contractor’s budget or a six-month timeline. Whether you’re tackling a full DIY bathroom remodel or focusing on key upgrades, this guide walks you through the essentials: planning, material selection, plumbing basics, and the common pitfalls to sidestep. Most homeowners underestimate how much impact thoughtful updates can deliver, a fresh coat of paint, new fixtures, and upgraded flooring transform the space dramatically. This isn’t about becoming a licensed plumber or electrician: it’s about knowing what you can handle yourself and when to call in professionals. Let’s get into the specifics of a practical DIY bathroom reno that yields professional-looking results without the professional price tag.
Key Takeaways
- A DIY restroom remodel can cost between $1,500–$3,000 for cosmetic updates or $4,000–$8,000+ when adding flooring, fixtures, and vanities, making it budget-friendly compared to hiring contractors.
- Start with a thorough assessment: measure the space, take photos, and sketch a floor plan to avoid expensive mistakes and understand which changes require professional plumbing or electrical work.
- Paint with moisture-resistant, bathroom-rated formulas in semi-gloss or satin finishes, and always prep surfaces by removing mildew and soap scum—proper preparation determines 80% of durability.
- Know your limits: tackle fixture swaps and cosmetic updates yourself, but hire licensed professionals for plumbing relocations, electrical installations, and GFCI outlet upgrades to ensure code compliance and safety.
- Upgrade ventilation with an exhaust fan sized at least 1 CFM per square foot of bathroom area, and seal tile and grout properly after installation to prevent hidden mold and water damage.
- Finish strong with intentional storage solutions, quality lighting and mirrors, and proper caulking using flexible silicone—these final touches signal a professional-looking DIY bathroom renovation.
Plan Your Bathroom Remodel: Assessment and Design
Before you touch a tool, walk through your bathroom and write down exactly what bothers you. Is it the outdated tile, poor lighting, limited storage, or all three? Take measurements of the room’s length, width, and the height of walls and ceilings. Note the location of existing fixtures, toilet, sink, tub, and any plumbing or electrical outlets. Snap photos from multiple angles. This baseline prevents expensive mistakes.
Sketch a simple floor plan on graph paper or use a free online tool. Mark the positions of fixtures, doors, and windows. This forces you to think through layout constraints before you’re halfway through demolition. Will you move the toilet or sink? Can you safely add a second vanity? Some changes require plumbing relocation, which drives up cost and complexity.
Budget and Timeline Basics
Set a realistic budget. A cosmetic DIY bathroom reno, paint, hardware, lighting, might run $1,500 to $3,000. Adding new flooring, fixtures, and a vanity pushes the range to $4,000 to $8,000 or more. Larger remodels involving wall tile, relocating plumbing, or structural changes can exceed $10,000. These figures vary significantly by region, material quality, and whether you’re tackling finishes yourself or hiring contractors for specific trades.
Break your budget into tiers: essentials (flooring, paint, basic fixtures), mid-tier upgrades (quality faucets, storage solutions), and nice-to-haves (heated towel racks, premium tile). If costs climb, you know which items to cut.
Timeline depends on scope and your available hours. A straightforward cosmetic update might take 2–3 weekends. Adding flooring and fixture swaps extends it to 4–6 weeks of part-time work. Tile work, especially intricate patterns, demands patience and skill, don’t rush it. Most DIYers underestimate drying time for primer, paint, grout, and adhesive. Always add a 20% time buffer.
Essential Upgrades: Fixtures, Paint, and Flooring
Paint is the quickest, cheapest win. Choose a moisture-resistant formula rated for bathrooms, standard interior paint peels and molds in high-humidity spaces. Semi-gloss or satin finishes reflect moisture better than flat. Prime any patches or stains with a stain-blocking primer first. Expect to apply two coats. Most gallons cover 350–400 square feet: measure your wall area to calculate how many gallons you’ll need.
Fixture upgrades, faucets, showerheads, and cabinet hardware, deliver immediate visual impact. Swapping a builder-grade faucet for a mid-range model (think Moen, Delta, or Kohler) costs $150–$400 and takes 30 minutes with basic plumbing knowledge. Shut off the water supply under the sink, disconnect the old faucet, and install the new one following the manufacturer’s instructions. Have a bucket handy: water will drain from the supply lines. If you’re uncomfortable working with water connections, hire a plumber for this task, it’s not worth a leak.
Flooring sets the tone. Tile is durable and easy to clean: expect to pay $3–$10 per square foot for mid-range ceramic or porcelain. Vinyl plank flooring (LVP) is cheaper ($2–$6 per square foot), waterproof, and easier for DIYers to install. Luxury vinyl mimics wood or stone convincingly. Lay a subfloor membrane or underlayment before installing tile to prevent moisture damage. For LVP, ensure the subfloor is flat and clean. Tile requires grout sealing after setting: plan for this step even if it feels tedious, it’s critical for preventing mold.
Vanities and sinks come in infinite styles. A 24-inch single-sink vanity runs $200–$600 depending on finish and storage quality. Pre-made vanities with tops and faucet holes pre-drilled simplify installation. Mount it to studs in the wall for stability, and connect supply and drain lines carefully. If you’re new to plumbing, watch the full installation video before starting, and don’t hesitate to call a pro if drain or supply connections feel uncertain.
Plumbing and Electrical Considerations
Know your limits. Simple fixes, replacing a faucet, unclogging a drain, or swapping hardware, are DIY-friendly. Relocating a toilet, moving water supply lines, or installing a new drain typically require a licensed plumber and a permit. Check your local building codes: bathroom plumbing is tightly regulated to prevent backflow contamination and ensure proper venting.
If you’re replacing fixtures within their existing locations, the work is straightforward. Shut off the water, disconnect supply lines and drain connections, remove the old fixture, and install the new one. Use adjustable wrenches and plumber’s tape on threaded connections to prevent leaks. Test for leaks under the sink by running water and checking below for drips.
Electrical work is trickier. GFCI (ground fault circuit interrupter) outlets are required within 6 feet of water sources per the National Electrical Code (NEC). If your bathroom lacks GFCI protection, hire a licensed electrician to upgrade. Installing a new exhaust fan or adding light fixtures involves circuit calculations, potential re-routing of wire, and code compliance. Unless you’re experienced with electrical wiring, don’t improvise. A mistake can cause fire or shock. Hire a licensed electrician: the cost ($200–$600 for a fan or light upgrade) is cheap insurance.
Ventilation is non-negotiable. Install or upgrade your exhaust fan to handle your bathroom’s square footage. A basic rule: the fan should move at least 1 CFM (cubic feet per minute) per square foot of floor area. A small 5-by-8-foot bathroom needs at least 40 CFM: larger baths may need 50–100 CFM. Proper venting prevents mold, mildew, and moisture damage to walls and ceilings.
Finishing Touches: Storage and Styling
Storage often determines function. Open shelving above the toilet or beside the vanity costs little and looks intentional. Floating shelves require anchors into studs: verify stud locations with a stud finder before drilling. For renters or those avoiding wall modification, freestanding shelving units or wall-mounted ladder shelves work well.
Mirror and lighting shape the room’s feel. A large, quality mirror makes a small bathroom feel bigger and bounces light around. A basic framed mirror runs $50–$200. Pair it with vanity lighting (usually two sconces flanking the mirror or a bar light above). LED bulbs reduce heat and moisture issues compared to incandescent. Ensure the fixture is rated for bathrooms, damp-rated or wet-rated fixtures handle humidity better.
Accents tie everything together: towel bars, soap dispensers, and window treatments. These are personal touches that cost $10–$50 each. Replace outlet covers and light switch plates with matching styles. Small details signal thoughtfulness and completeness.
If you’re refreshing a full DIY bathroom renovation, consider re-caulking any gaps around the tub or shower. Use silicone caulk (not acrylic) for wet areas: it stays flexible and resists mold better. Remove old caulk with a caulk remover tool, clean thoroughly, let dry, and apply fresh caulk with a caulk gun. A neat, fresh line of caulk looks professional and seals moisture out.
Common DIY Mistakes to Avoid
Skipping surface prep. Painting over mildew, dirt, or soap scum is a recipe for peeling. Clean walls and ceilings with a mold-killing cleaner, scrape off loose paint or wallpaper, and sand rough spots. Wait for surfaces to dry completely before priming. Prep feels boring, but it’s where 80% of durability lives.
Underestimating grout and sealant work. Tile looks great until water seeps behind it. Don’t cheap out on grout or skip sealing. Use epoxy or urethane-based grout in wet areas: it resists staining and mold better than cement grout. Seal both grout lines and porous tiles (like natural stone) after they’ve fully cured, this takes 48–72 hours.
Mixing plumbing or electrical improvisation with code requirements. A handmade drain connection might work for a month before it leaks into your subfloor. An improperly wired outlet can cause a fire. If you’re unsure, hire a licensed professional. It costs more upfront but saves thousands in water damage or emergency repairs.
Ignoring ventilation. Running the exhaust fan during showers and for 20 minutes afterward prevents mold and moisture buildup. A bathroom that “just gets damp” will develop hidden mold in walls. Proper ventilation is not optional.
Not acclimating materials. Tile, wood, and some flooring materials need time to adjust to your home’s temperature and humidity. Leave flooring and tile in the bathroom for 48 hours before installation. This prevents gaps, buckling, or cracking after installation.
Rushing the final steps. After weeks of work, homeowners often skip the finishing touches or do them half-heartedly. A rushed caulk line, misaligned tile trim, or uneven paint coverage undercuts an otherwise solid job. Take your time on the last 10%, even if it means breaking the work into another weekend.
Conclusion
A successful DIY bathroom remodel balances ambition with realism. Cosmetic updates, paint, fixtures, flooring, are within most homeowners’ reach with basic tools and patience. Structural changes, relocating plumbing, or rewiring electrical demand licensed professionals. The projects you undertake yourself deliver genuine satisfaction and savings. The ones you delegate keep your home safe and your sanity intact. Start with a solid plan, budget for contingencies (drywall damage, hidden mold, or unexpected repairs happen), and don’t hesitate to pause and ask for professional guidance when something feels risky. Your finished bathroom, practical, attractive, and built partly with your own hands, is worth the effort.


