
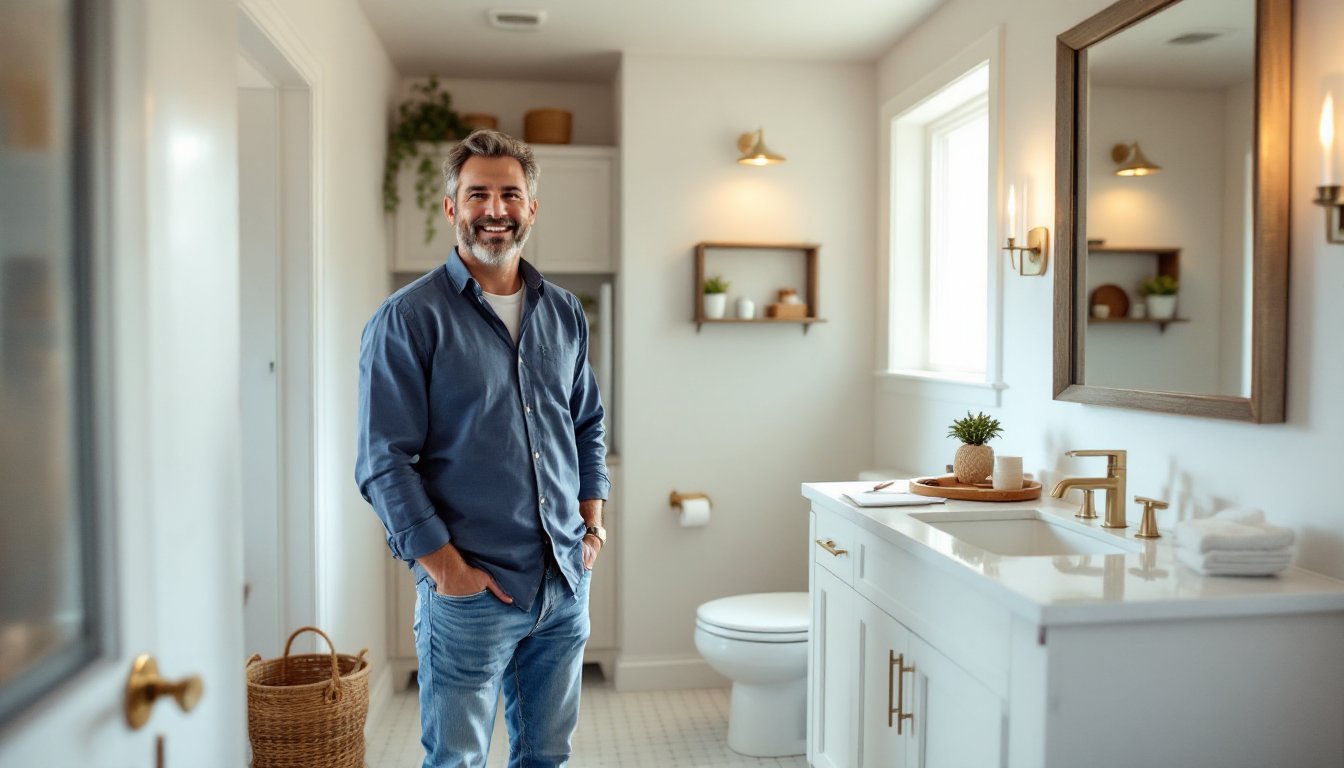
A small bathroom doesn’t have to feel cramped or outdated. With some planning and elbow grease, a DIY small bathroom remodel can turn that forgotten corner into a functional and refreshing space without contractor sticker shock. Whether you’re updating fixtures, refreshing paint and tile, or maximizing storage, tackling a DIY bathroom reno is one of the most rewarding projects a homeowner can take on. This guide walks you through the essential steps to plan, execute, and finish a successful DIY bathroom renovation that fits your budget and timeline.
Key Takeaways
- A DIY small bathroom remodel ranges from a few hundred to a few thousand dollars depending on materials, so set a clear budget, prioritize high-impact items like vanities and flooring, and build in a 15–20% contingency for unexpected issues.
- Accurate measurements and fixture sizing are critical in small bathrooms—verify vanity depth, door swing clearance, and tile quantities from the same lot to avoid costly mistakes and mismatches.
- Update fixtures and hardware like faucets, showerheads, and vanities first to transform a dated space quickly, with standard faucet replacement taking just 30–60 minutes of part-time work.
- Moisture-resistant semi-gloss or satin-finish paint combined with proper tile prep, thin-set mortar, and consistent grout lines are essential for durability and a polished bathroom renovation finish.
- Maximize storage through vertical solutions like medicine cabinets, open shelving, and recessed niches, while layering your lighting with vanity task lighting and installing an appropriately sized exhaust fan to prevent mold and moisture damage.
- Plan for a DIY bathroom remodel to take 2–4 weeks for cosmetic updates or significantly longer if plumbing and electrical work are involved, so avoid rushing critical steps like grouting tile or caulking seams.
Plan Your Remodel Before You Start
Set a Realistic Budget and Timeline
Before you buy anything or turn off the water, decide what stays and what changes. Are you keeping the toilet and tub in place, or relocating plumbing? Is the layout working, or do you want to move the vanity? Define your scope clearly, mixing cosmetic updates (paint, hardware, lighting) with structural moves (plumbing, electrical) dramatically affects both cost and difficulty.
A typical DIY small-bath cosmetic update runs anywhere from a few hundred to a few thousand dollars depending on materials and finishes. Prioritize high-impact items like a new vanity, updated flooring, or improved lighting. Keep lower-priority items simple. Build in a 15–20% contingency for unexpected issues, water damage, outdated wiring, or crumbling grout often surface once demolition starts.
Expect DIY work to take significantly longer than a contractor timeline. A cosmetic refresh might run 2–4 weeks of part-time effort: plumbing or electrical work adds weeks. Plan accordingly and don’t rush critical steps like grouting tile or caulking seams.
Measure and Assess Your Space
Measure twice, cut once, and measure even more carefully in a bathroom where mistakes are expensive. Record length, width, and ceiling height. Note clearances: toilet spacing from walls, door swing clearance, shower entry space, and vanity depth. Check stud locations with a stud finder so you know where to safely mount cabinets, grab bars, or shelving.
Consider traffic flow and focal point when you open the door. In a tight space, a well-placed mirror or bright vanity becomes a visual anchor. Verify fixture sizes before ordering, a vanity depth of 18″ vs. 20″ changes your floor plan. When ordering tile, purchase all from the same lot with 10–15% overage. Color and texture can vary between batches, and running short forces costly delays or visible mismatches.
Update Fixtures and Hardware
New fixtures and hardware deliver immediate visual impact without rerouting pipes. A updated faucet, showerhead, vanity, towel bars, cabinet pulls, and hooks transform a dated space fast.
When choosing a vanity, consider depth and counter space. In very tight bathrooms, a single-sink vanity gains you precious counter real estate compared to a double. Ensure the vanity fits your existing plumbing rough-in (the water supply and drain stub-outs behind the wall). Swapping a 30″ vanity for a 36″ is straightforward: relocating rough-ins requires a plumber and often a permit.
Upgrade to WaterSense-labeled faucets and toilets if water efficiency matters to you. These reduce water use without sacrificing flow, lowering both your utility bill and environmental footprint. Standard faucet replacement takes 30–60 minutes: shut off water under the sink, disconnect supply lines and pop-up drain, then install the new faucet and tighten connections hand-tight, then a quarter turn with a wrench. Over-tightening cracks ceramic. Toilet replacement is similarly straightforward: shut off water, drain the tank, unbolt the wax ring, and set the new toilet on a fresh wax ring (not the old one).
For towel bars and hooks, locate studs if possible to avoid drywall anchors that can fail over time. A single grab bar near the tub takes minutes to install and boosts safety and accessibility.
Refresh Paint, Tile, and Surfaces
Paint and tile set the visual tone and durability of your remodel. Bathroom paint must resist moisture and mold: use a moisture-resistant, semi-gloss or satin-finish paint formulated for bathrooms. Glossy sheens reflect light and wipe clean, but flat paint absorbs moisture and promotes mildew. Prime any water-stained areas or new drywall patches with a mold-blocking primer before painting. Two coats ensure even coverage and longevity.
For tile work, proper prep is non-negotiable. Remove old tile by cutting grout lines with a grout saw or oscillating multi-tool, then pry tiles away carefully. Scrape the wall substrate smooth and level. Install new tile on a thin-set mortar bed (a cement-based adhesive), starting with wall tile. Lay out your pattern dry first, especially critical for small bathrooms where awkward cuts stand out. Use tile spacers for consistent grout lines. After 24 hours, apply grout (unsanded for grout lines under ⅛” wide, sanded for wider lines) and caulk corners and edges where tile meets the tub or wall, don’t grout these joints, as they need flexibility for slight movement.
Choose floor tile with grip, small mosaics, textured surfaces, or matte finishes reduce slipping. Avoid very light grout unless you’re committed to frequent cleaning: darker grout hides stains and mildew better. Consider refinishing a tub instead of replacing if it’s structurally sound: refinishing runs $400–$600 and keeps the footprint identical.
When working with bathroom remodeling guides, follow manufacturer specs for mortar thickness, drying time, and grout curing. Ventilate well during installation to manage dust and fume exposure.
Maximize Storage and Organization
Small bathrooms demand clever storage. Vertical storage is your friend: a medicine cabinet, open shelving above the toilet, or a tall narrow cabinet beside the vanity. These solutions use wall space without eating floor area.
If your vanity has a drawer, use drawer organizers to corral small items. Recessed niches (cut into the wall cavity between studs) inside the shower create a built-in shelf for soap and shampoo without sacrificing space. Adhesive shelves and tension rods are renter-friendly alternatives. Hooks on the back of the door hold robes and towels. Baskets under the sink hide cleaning supplies and keep clutter out of sight.
A single-sink vanity in a very tight bathroom gains counter space versus a double. Wall-mounted faucets also free up countertop real estate. Even small changes, removing a bulky soap dispenser, consolidating bottles, adding a simple pull-out tray, make a tangible difference in how spacious the room feels.
When planning storage, think about what actually lives in your bathroom daily: toiletries, medications, towels, cleaning tools. Assign a home for each category rather than cramming everything wherever. Open shelves look clean only if organized intentionally: closed cabinets are forgiving and hide visual clutter.
Improve Lighting and Ventilation
Poor lighting and ventilation are the silent killers of small-bathroom comfort. Layer your lighting: overhead general lighting, vanity task lighting, and optional accent lighting (a small LED strip under a mirror adds warmth and function).
Vanity lighting matters most. Flank the mirror with sconces (one on each side) or install a vanity bar above for even, shadow-free light when grooming. Avoid a single overhead fixture directly above the vanity, it creates shadows under the chin and eyes. If you’re upgrading lighting, this is the time to plan outlet placement for hair tools, shavers, or a bidet seat. Call an electrician to add outlets safely: adding a circuit is straightforward and often requires a permit.
Ventilation removes moisture that causes mold, mildew, and peeling paint. Size your exhaust fan to your room volume: multiply length × width × height in feet, divide by 60, and round up. A 5′ × 8′ × 8′ bathroom is 320 cubic feet ÷ 60 = about 6 CFM (cubic feet per minute), so a 60–80 CFM fan works. Mount the fan near the shower or tub where moisture originates and vent it to the outside, not the attic, venting indoors just moves moisture problems to your roof. Run the fan during and for 20 minutes after showers.
Consider a small space interior design approach to layout and finishes. Bright, matte paint, good task lighting, and an efficient exhaust fan make even a 30-square-foot bathroom feel fresh and livable. Upgrade to an LED fan with a humidity sensor if budget allows, it runs automatically when moisture peaks, saving energy.


