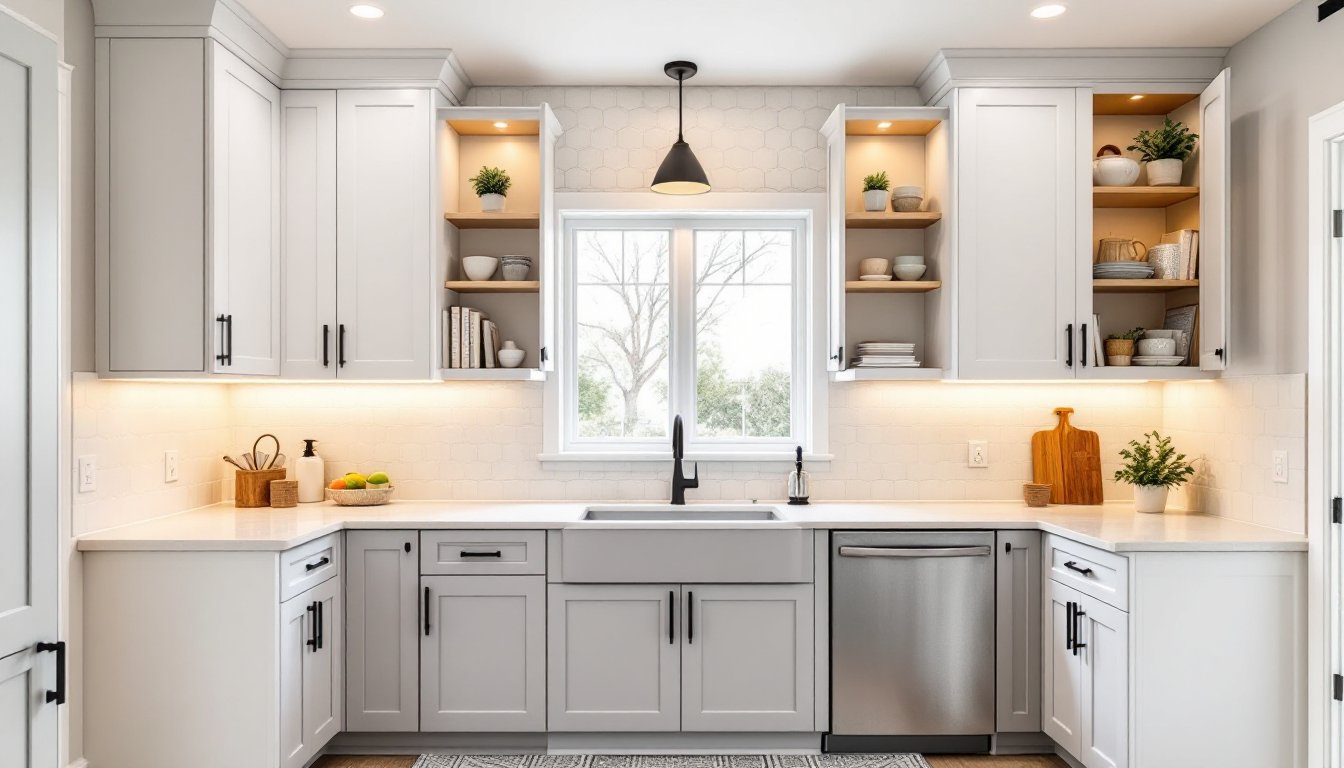
A kitchen refresh doesn’t demand a contractor’s bill or months of disruption. With smart planning and sweat equity, homeowners can transform their cooking space for $500 to $2,000 by focusing on high-impact cosmetic upgrades, paint, hardware, lighting, and surface refreshes instead of full replacements. This guide walks you through practical, budget-friendly strategies to modernize your kitchen without emptying your wallet. Whether you’re refreshing dated fixtures, brightening dark corners, or simply updating the visual feel of the space, the following steps prioritize where your dollars matter most and what you can confidently tackle yourself.
Key Takeaways
- A low budget DIY kitchen makeover can be achieved for $500–$2,000 by prioritizing cosmetic upgrades like paint, hardware, and lighting instead of expensive replacements.
- Painting cabinets, walls, and backsplash tiles is the most cost-effective transformation tool, requiring proper prep work with degreaser and primer for lasting results.
- Swapping outdated cabinet hardware, knobs, and pulls for modern finishes is a high-ROI upgrade that costs $50–$200 and takes minimal time to install.
- Peel-and-stick backsplash panels and vinyl countertop film provide affordable surface refreshes ($20–$100) that deliver intentional design without permanent commitment.
- Layered lighting, including under-cabinet LED strips and modern ceiling fixtures, transforms the kitchen’s function and ambiance for $100–$300 and offers immediate visual impact.
- Strategic decor, organization, and thoughtful styling—like open shelving displays and floating shelves—complete your DIY kitchen refresh by maximizing visual space and functionality.
Plan Your Kitchen Refresh Without Breaking the Bank
Before you pick up a paintbrush or drill, define a realistic budget and determine what actually needs to change. Most kitchen makeovers that stay under $2,000 focus on visible cosmetic updates rather than structural overhauls or appliance replacements.
Assess Your Space and Set Realistic Goals
Start by evaluating your kitchen honestly. What must stay (cabinets, appliances, layout)? What eyesores jump out when you walk in, worn cabinet doors, outdated backsplash, dim corners, or tired hardware? Identifying these pain points helps you prioritize spending.
Light cosmetic updates, paint, hardware swaps, grout refresh, and simple decor, fit comfortably into a $500–$2,000 budget. More extensive work (appliance upgrades, sink replacement, countertop installation) jumps into the $5,000+ range and often requires professional help or permits. Know your limits upfront.
Set a hard spending cap and allocate 10–15% contingency for surprises: extra primer because you underestimated coverage, replacement handles that arrive damaged, or minor repairs you discover mid-project. DIY kitchen projects rarely go exactly to plan, and padding your budget saves frustration and keeps momentum going.
Paint: The Most Affordable Kitchen Transformation Tool
Paint is the single most cost-effective change you can make. A gallon of quality kitchen paint runs $30–$50, and you can refresh walls, cabinets, and even dated tile for a fraction of replacement costs.
Walls: Choose an eggshell or satin finish for durability and easy cleaning. Light, neutral tones (soft whites, warm grays, pale blues) expand the space visually and provide a backdrop for accent colors or new hardware.
Cabinets: Cabinet painting requires more steps but delivers dramatic results. Clean thoroughly with a degreaser to remove cooking residue, lightly sand with 120–150 grit paper to rough the surface, then prime with a bonding primer designed for glossy surfaces. Apply two coats of cabinet enamel or furniture paint (which hardens to a durable finish), then seal with a clear polyurethane topcoat for protection against moisture and wear. This process takes patience but costs a fraction of replacement cabinetry.
Tile and grout: If your backsplash is structurally sound but visually dated, use tile paint specifically formulated for ceramic surfaces. Clean and degrease, prime, then apply two coats. Alternatively, refresh grout lines with grout paint or colorant, a small touch that refreshes the entire backsplash look.
Safety note: Wear respiratory protection (N95 or P100 mask) when sanding: use nitrile gloves when working with degreasers: eye protection when overhead work occurs. Ensure good ventilation throughout.
Update Hardware and Fixtures for Maximum Impact
Cabinet handles, knobs, and hinges set the kitchen’s visual tone. Swapping dated brass or mismatched pulls for cohesive, modern hardware is one of the fastest, most affordable upgrades, typically $50–$200 depending on how many cabinets and drawers you’re outfitting.
Browse hardware in matte black, brushed nickel, or simple chrome finishes for a contemporary feel, or warm brass and aged bronze for transitional or farmhouse styles. Ensure new hardware aligns with existing holes to avoid drilling new ones (which risks cracking cabinet faces).
If your faucet is dated or leaking, replacing it is a reasonable DIY project if you’re comfortable with basic plumbing. A mid-range kitchen faucet ($80–$150) with a high arc or pull-down spray adds function and modernity. But, if you’re unfamiliar with water connections, calling a plumber ($150–$250) is smarter than risking leaks.
Another option: spray-paint existing hardware with a rustoleum or furniture paint if it’s still structurally sound but visually tired. This works for knobs and drawer pulls but is trickier for hinges that must function smoothly. Test spray paint on a sacrificial cabinet section first.
A DIY kitchen renovation guide from a trusted home improvement source emphasizes hardware as one of the highest-ROI updates. Budget accordingly and choose quality fixtures that won’t loosen or tarnish within months.
Refresh Countertops and Backsplash on a Budget
Countertop and backsplash replacements are expensive. Fortunately, several low-cost refresh options exist that look intentional, not makeshift.
Backsplash: Peel-and-stick backsplash panels or vinyl tile are game-changers. Clean your wall thoroughly, measure and plan your layout, cut panels to fit with a craft knife, then apply and smooth out air bubbles with a squeegee. Costs run $20–$80 depending on coverage area. Quality adhesive-backed panels stick reliably and peel cleanly if you change your mind later. Alternatively, source ideas from budget home makeovers and DIY decorating blogs for creative tiling and paint solutions.
Countertops: If replacing isn’t an option, countertop paint kits designed for laminate or tile can refresh worn surfaces. Prep is crucial: clean, degrease, sand lightly, and apply primer. Two coats of countertop enamel follow, then a protective sealer. Results last 2–3 years with care. Alternatively, stick-on vinyl countertop film, cut to fit and sealed at edges with silicone caulk around walls and sinks, provides an instant new look for $40–$100. Edge treatments matter, sealed edges resist peeling and moisture.
Grout refresh: If backsplash tile is sound but grout is stained or outdated, recoloring grout with epoxy colorant brightens the entire backsplash for $10–$30 and a few hours of work. Clean grout lines, apply colorant carefully with a squeeze bottle, and allow proper curing time.
These solutions aren’t permanent replacements, but they extend the visual life of your kitchen affordably.
Add New Life With Lighting and Decor
Lighting transforms how a kitchen feels. Layered lighting, ceiling fixtures, under-cabinet strips, and mini pendants with dimmers, creates function and ambiance for $100–$300 depending on complexity. Under-cabinet LED strip lights ($30–$60) install with adhesive backing and plug into wall outlets, brightening countertops and backsplash instantly. Replace a single ceiling fixture ($40–$80) with a modern flush mount or semi-flush light for an immediate refresh. If your kitchen lacks task lighting, this is your highest-ROI upgrade after paint.
Decor and organization make tangible differences without structural changes. Open one or two upper cabinet doors and style shelves with cookbooks, plants, or dishware, it lightens the visual weight of cabinetry. Add floating shelves ($40–$100 installed) for additional display and storage. Low-maintenance herbs or greenery in pots bring life and color. A washable runner rug in front of the sink or stove adds warmth and defines zones for under $30.
Organization upgrades (cabinet liners, stackable containers, drawer organizers, magnetic spice racks) cost little but improve daily function and aesthetics. A organized, clutter-free kitchen feels newer and larger. Resources like Young House Love showcase before-and-afters where strategic decor and lighting changes elevate spaces without major renovation.
Don’t overlook small touches: new dish towels, a modern soap dispenser, or a small console table for keys and mail can anchor an updated look.
Conclusion
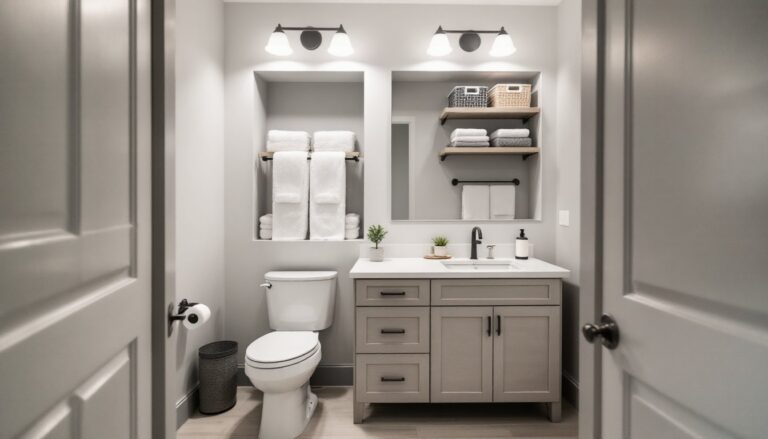
A low-budget DIY kitchen makeover succeeds through prioritization and honest assessment. Paint, hardware swaps, affordable surface refreshes, improved lighting, and thoughtful decor deliver a modernized space without contractor costs or months of disruption. Start with a firm budget, tackle one section at a time, and don’t skip prep work, most DIY failures stem from rushing surface prep or underestimating material quantities. A complete DIY bathroom renovation shares similar principles: focus on high-impact cosmetic changes first. Your kitchen refresh is achievable, affordable, and genuinely rewarding.