
A kitchen cabinet makeover can breathe new life into a tired kitchen without the six-figure price tag of a full renovation. Whether you’re tackling a DIY bathroom remodel down the hall or refreshing your cooking space, cabinet painting and hardware updates deliver fast, visible results. Homeowners often discover that a quality cabinet refresh ranks among the highest-impact, lowest-cost improvements they can tackle themselves, with results that rival a professional contractor’s work at a fraction of the cost. This guide walks you through the entire process, from prep work to the final knob installation.
Key Takeaways
- A kitchen cabinet DIY makeover costs $1,500 to $5,000 and takes just a weekend or two, compared to $15,000–$40,000 and weeks for full cabinet replacement.
- Proper preparation—including degreasing, sanding, and filling damage—accounts for 40% of the work and is the #1 factor separating professional-looking results from disappointing ones.
- Use bonding primer on glossy cabinets, then apply two to three thin coats of cabinet-grade enamel paint rather than one thick coat to avoid drips and ensure durability.
- Choose satin or semi-gloss finishes for cabinets; they’re more durable and easier to clean than flat paint, and neutral tones (whites, grays, soft blues) age better than trendy colors.
- Upgrading hardware and adding finishing touches like paintable caulk takes just an hour but dramatically completes the kitchen cabinet makeover and transforms the final appearance.
Why Kitchen Cabinet Makeovers Beat Full Replacements
Replacing kitchen cabinets often runs $15,000 to $40,000 or more, depending on size and material quality. A cabinet makeover, painting, staining, or refacing, costs a fraction of that, typically $1,500 to $5,000 for materials and elbow grease. The real advantage is speed. A full replacement means weeks of installation, dust everywhere, and your kitchen out of commission. A DIY cabinet makeover takes a weekend or two, and you’re back to cooking Monday morning.
Beyond cost and time, a DIY kitchen cabinet makeover lets you experiment with color and style without the permanence of a gut renovation. That bold navy you’re thinking about? Paint it. Hate it? Prime and paint again. This flexibility makes cabinet work the ideal starter project for homeowners new to renovation. You’ll gain hands-on experience with surface prep, painting technique, and finishing details, skills that carry over to larger projects like a comprehensive DIY kitchen renovation. Most DIY failures stem not from lack of skill but from skipped prep work. This guide emphasizes the unsexy but critical foundation steps that separate a professional-looking result from a disappointing one.
Preparation: The Foundation of Your Cabinet Success
Preparation determines success or failure. Spend 40% of your time on prep, and you’ll spend 20% on actual painting. Rushing past surface preparation is the #1 reason DIY cabinet projects disappoint.
Start by removing cabinet doors and hardware. Label everything, photo the hinge positions with your phone, or use painter’s tape marked with a permanent marker to track which door goes where. Lay doors flat on sawhorses or a work table: standing them upright invites dust settling in paint drips.
Next, degrease and sand. Kitchen cabinets collect grease and grime over years. Use a degreaser (a mix of warm water and TSP, trisodium phosphate, works, or a commercial kitchen degreaser) and a soft cloth. Once dry, sand surfaces with 120-grit sandpaper. You’re not removing the finish entirely: you’re scuffing it enough for primer and paint to grip. Light sanding takes 2–3 hours for an average 15-cabinet kitchen.
Inspect for damage. Fill any gouges, dents, or gaps with wood filler (if staining) or spackle (if painting). Sand smooth once dry. This step separates amateur results from polished ones.
Tools and Materials You’ll Need
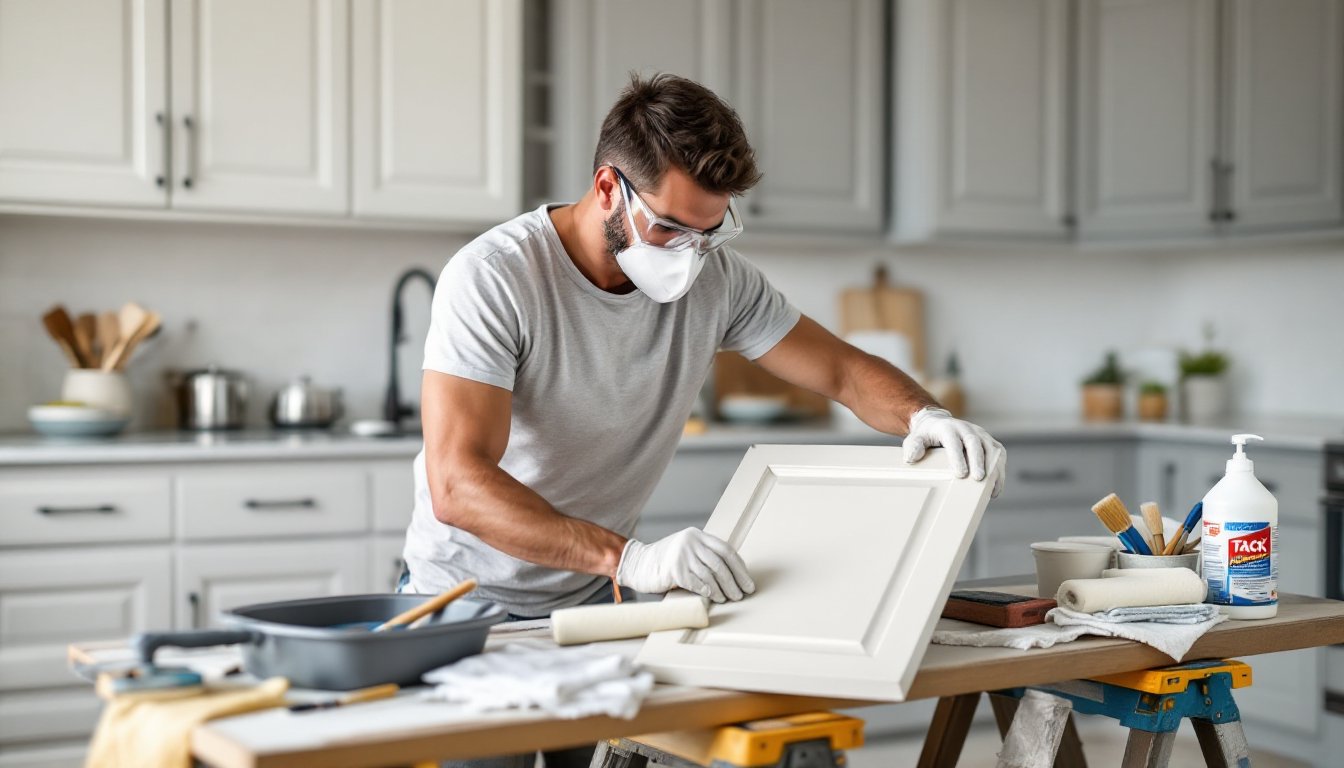
Safety Gear:
- Safety glasses or goggles
- Dust mask or respirator (especially when sanding)
- Nitrile gloves
- Hearing protection (if using power sanders)
Cleaning & Prep:
- Degreaser (TSP or commercial kitchen cleaner)
- Soft cloths or sponges
- 120-grit and 150-grit sandpaper
- Sanding sponge (for edges and corners)
- Tack cloths to remove dust
- Wood filler or spackle
- Painter’s tape
- Drop cloths or plastic sheeting
Painting:
- Primer (bonding or cabinet-specific)
- Paint (cabinet-grade enamel or acrylic)
- Paintbrushes (angled sash brush for detail, wider brush for panels)
- Foam rollers (optional, for smooth coverage on flat surfaces)
- Paint tray
- Stir stick
- Caulk gun and paintable caulk (for gaps)
Allow materials to acclimate to your kitchen’s temperature and humidity for 24 hours before opening packages. This prevents adhesion issues and uneven drying.
Painting Your Cabinets Like a Pro
Painting is where most DIYers see the biggest results. The technique matters more than the tool, brush vs. roller, for example, is less critical than applying thin, even coats with proper drying time between them.
Start with primer. Use a bonding primer (shellac-based or modern water-based bonding primers) if your cabinets are glossy. Bonding primer grips slick surfaces where standard primer might not. Apply one coat: it dries in 1–2 hours depending on humidity. Don’t skip primer thinking paint alone will stick, you’ll end up with peeling cabinets in six months.
Once primer is dry, lightly sand with 150-grit sandpaper, just enough to knock down any grain raise or dust nibs. Tack with a damp cloth to remove dust.
Now apply paint. Use a cabinet-grade enamel (oil or acrylic): standard wall paint won’t hold up to the daily wear cabinets endure. Oil-based enamel dries harder and slower (24 hours between coats): water-based acrylic dries faster (4–6 hours) and has lower VOCs but requires more coats for opacity. Choose based on your timeline and ventilation capacity.
Apply paint in thin, even coats. A thick single coat leads to drips, sags, and uneven drying. Two or three thin coats beat one thick one every time. Use a 2–3 inch angled sash brush for edges and detail: a foam roller works well on flat panel surfaces if you prefer, though a brush gives finer control.
Allow full cure time (usually 7–14 days, depending on paint type) before reinstalling doors and rehanging them. Rushing this step risks smudges and soft paint.
Choosing the Right Paint and Finish
Finish choice affects both appearance and durability. Satin or semi-gloss finishes are standard for cabinets, they’re durable, easier to clean than flat finishes, and reflect light subtly (hiding fingerprints better than glossy finishes). Flat paint looks modern but shows marks: high-gloss cabinets photograph well but show every fingerprint and dust particle.
Color selection is personal, but neutral tones (whites, grays, soft blues) age better than trendy colors. Young House Love and other design sites show countless cabinet makeover before-and-afters: neutral palettes appear in 70% of them for good reason, they’re forgiving and work across different kitchen styles.
If painting cabinets throughout an entire kitchen, order paint from the same batch to ensure color consistency. Small variations between batches are normal and barely noticeable in person, but using paint from two batches can create a patchwork effect.
Consider your kitchen’s lighting. Warm white (off-white with slight yellow or beige undertone) works in kitchens with warm-toned lighting. Cool white (gray or pure white undertones) suits daylit kitchens or those with cool LED bulbs. Buy a quart of your top choice, paint a cabinet door, and live with it for a few days under your kitchen’s actual lighting before committing to a gallon.
Hardware Upgrades and Finishing Touches
New hardware is the jewelry of a cabinet makeover. A cabinet with fresh paint but old, worn knobs and pulls feels incomplete. Swapping hardware takes an hour and costs $50 to $300 depending on quality and style.
Choose hardware style that complements your kitchen aesthetic. Modern kitchens suit sleek bar pulls or minimal knobs: traditional kitchens work better with cup pulls or ornate hardware: farmhouse styles embrace vintage or cup-style handles. Measure existing hole spacing, most standard cabinet hardware fits centers that are either 2.5 inches, 3.5 inches, 4 inches, or 5 inches apart. Mismatched hole spacing means drilling new holes and filling old ones, adding work.
When installing new hardware, ensure the cabinet door is supported, ask someone to hold it or rest it on a folded towel. Tighten handles firmly but don’t overtighten: stripped screw holes in cabinet doors are annoying to repair.
Paintable caulk along the edges where doors meet the frame creates a cleaner, more finished appearance. Apply a thin bead, smooth with a wet finger, and paint over it. This detail elevates the result from DIY to professional.
Consider adding shelf liners inside cabinets. Fresh liners (adhesive-backed or traditional paper) cost little and make the interior feel renewed. The Kitchn often features cabinet organization tips that pair beautifully with a painted cabinet refresh.
For a final polish, rehang doors carefully. Take time to adjust hinges so doors close flush and aligned. A cabinet with perfectly painted surfaces but crooked doors looks sloppy. Most hinges have small adjustment screws, a minute spent tweaking them is well worth it.
Conclusion
A DIY kitchen cabinet makeover is proof that high-impact home improvement doesn’t require contractor budgets or months of disruption. By respecting the prep work, choosing quality paint, and taking time with finishing details, you’ll achieve results that rival professional work. The experience builds confidence for larger projects, whether that’s a DIY bathroom renovation or a full kitchen overhaul down the road. Your weekend investment pays dividends every time you cook.


